If you like this recipe or just to support my journey
SOFT BREAD
♣120′ minutes for the dough rest♣10′ minutes for mix the ingredients ♣40′ minutes of cooking ♣Difficulty: Medium ♣Price: Affordable
WITH AN IMPROVISED ROUND MOULD
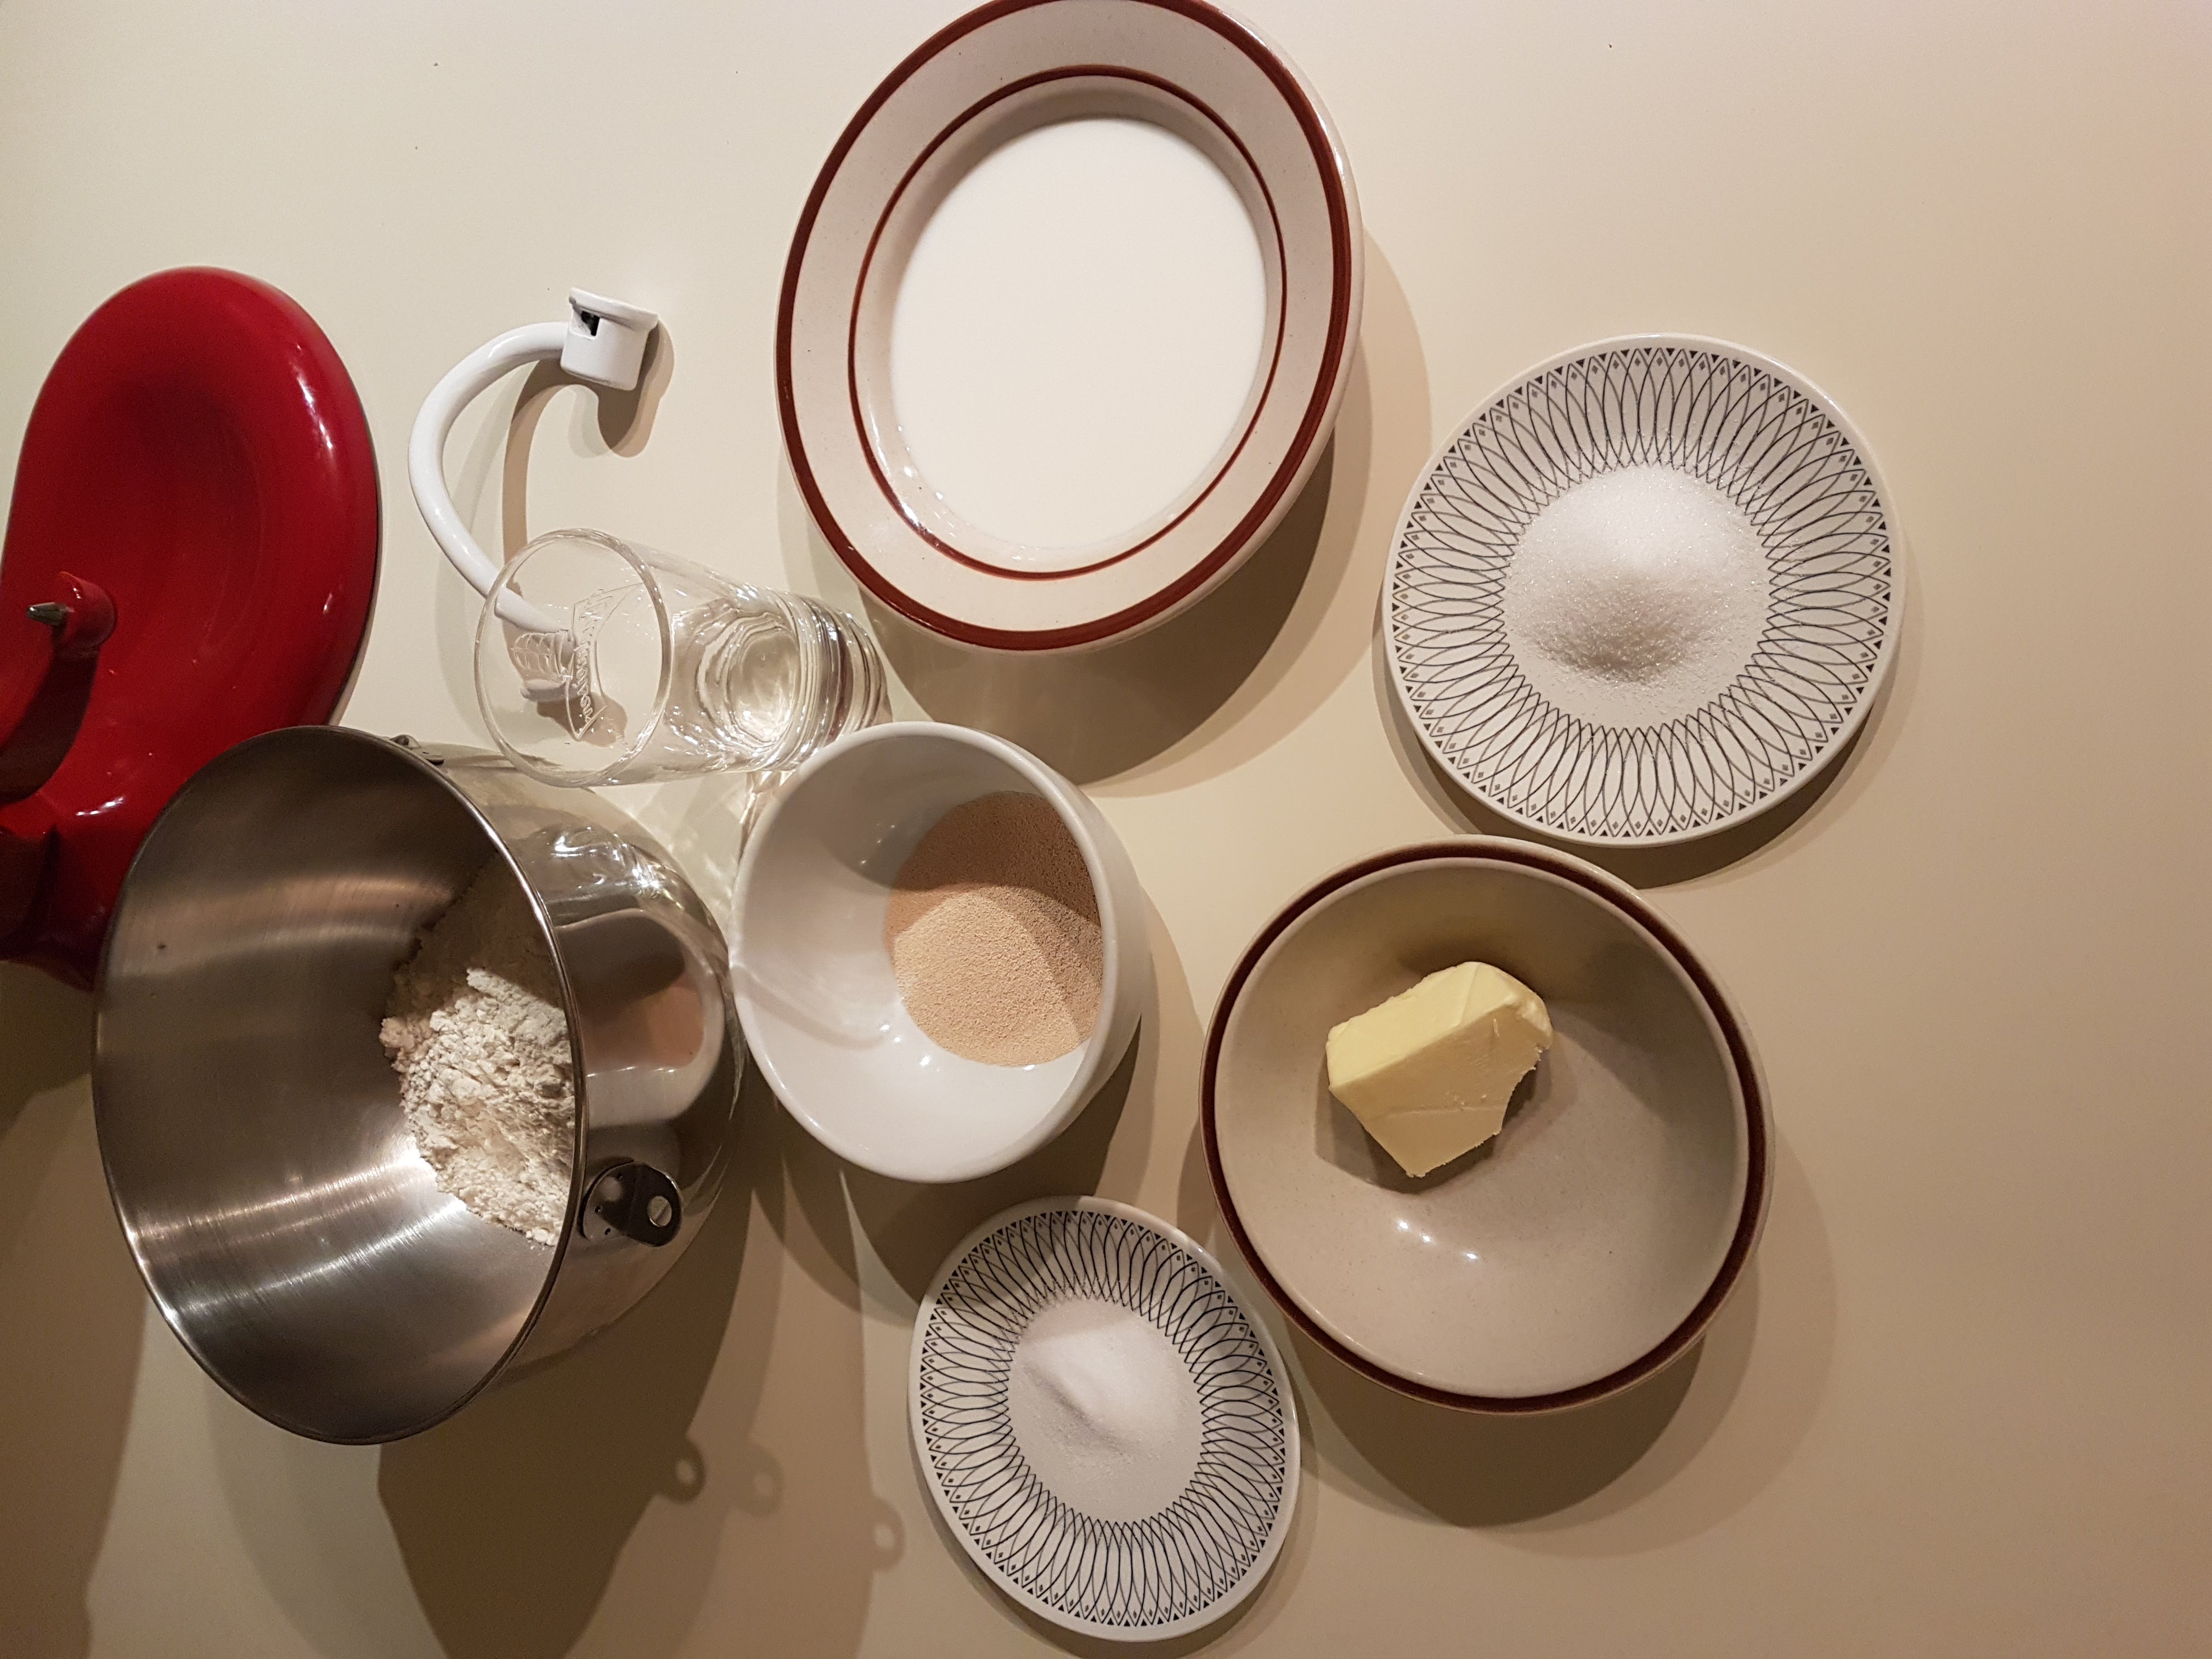
What you need for this recipe:
Equipment used:
(Ban the plastic if you buy new ones, but try first to reuse your tools)
A tiny kitchen and the North American spirit (If you do not have a tiny kitchen, but a huge one, it’s working too, for the rest….)
Prefered to have the right bread pan but you may improvised like me
A scale to weight the ingredients
A kitchenaid, but you may made easy by hands
A bowl for reserved and make the dough rise
A damp rag
Some plates and a scale for the ingredients
Ingredients for 1 liter:
500g of All Purpose flour (Organic, non GMO and local)
100ml of water
50g of unsalted butter (Organic, local and grass fed)
10g of sea salt
25g of sugar (Organic)
20g of active dry yeast (I use the Bob’s Red Mill) but I actively try to find a local one, ask your local baker for buy him it a fresh one, better for this recipe, but the Bob’s one work perfectly
200 ml of local whole Milk (Organic and Grass fed)
The course of the recipe:
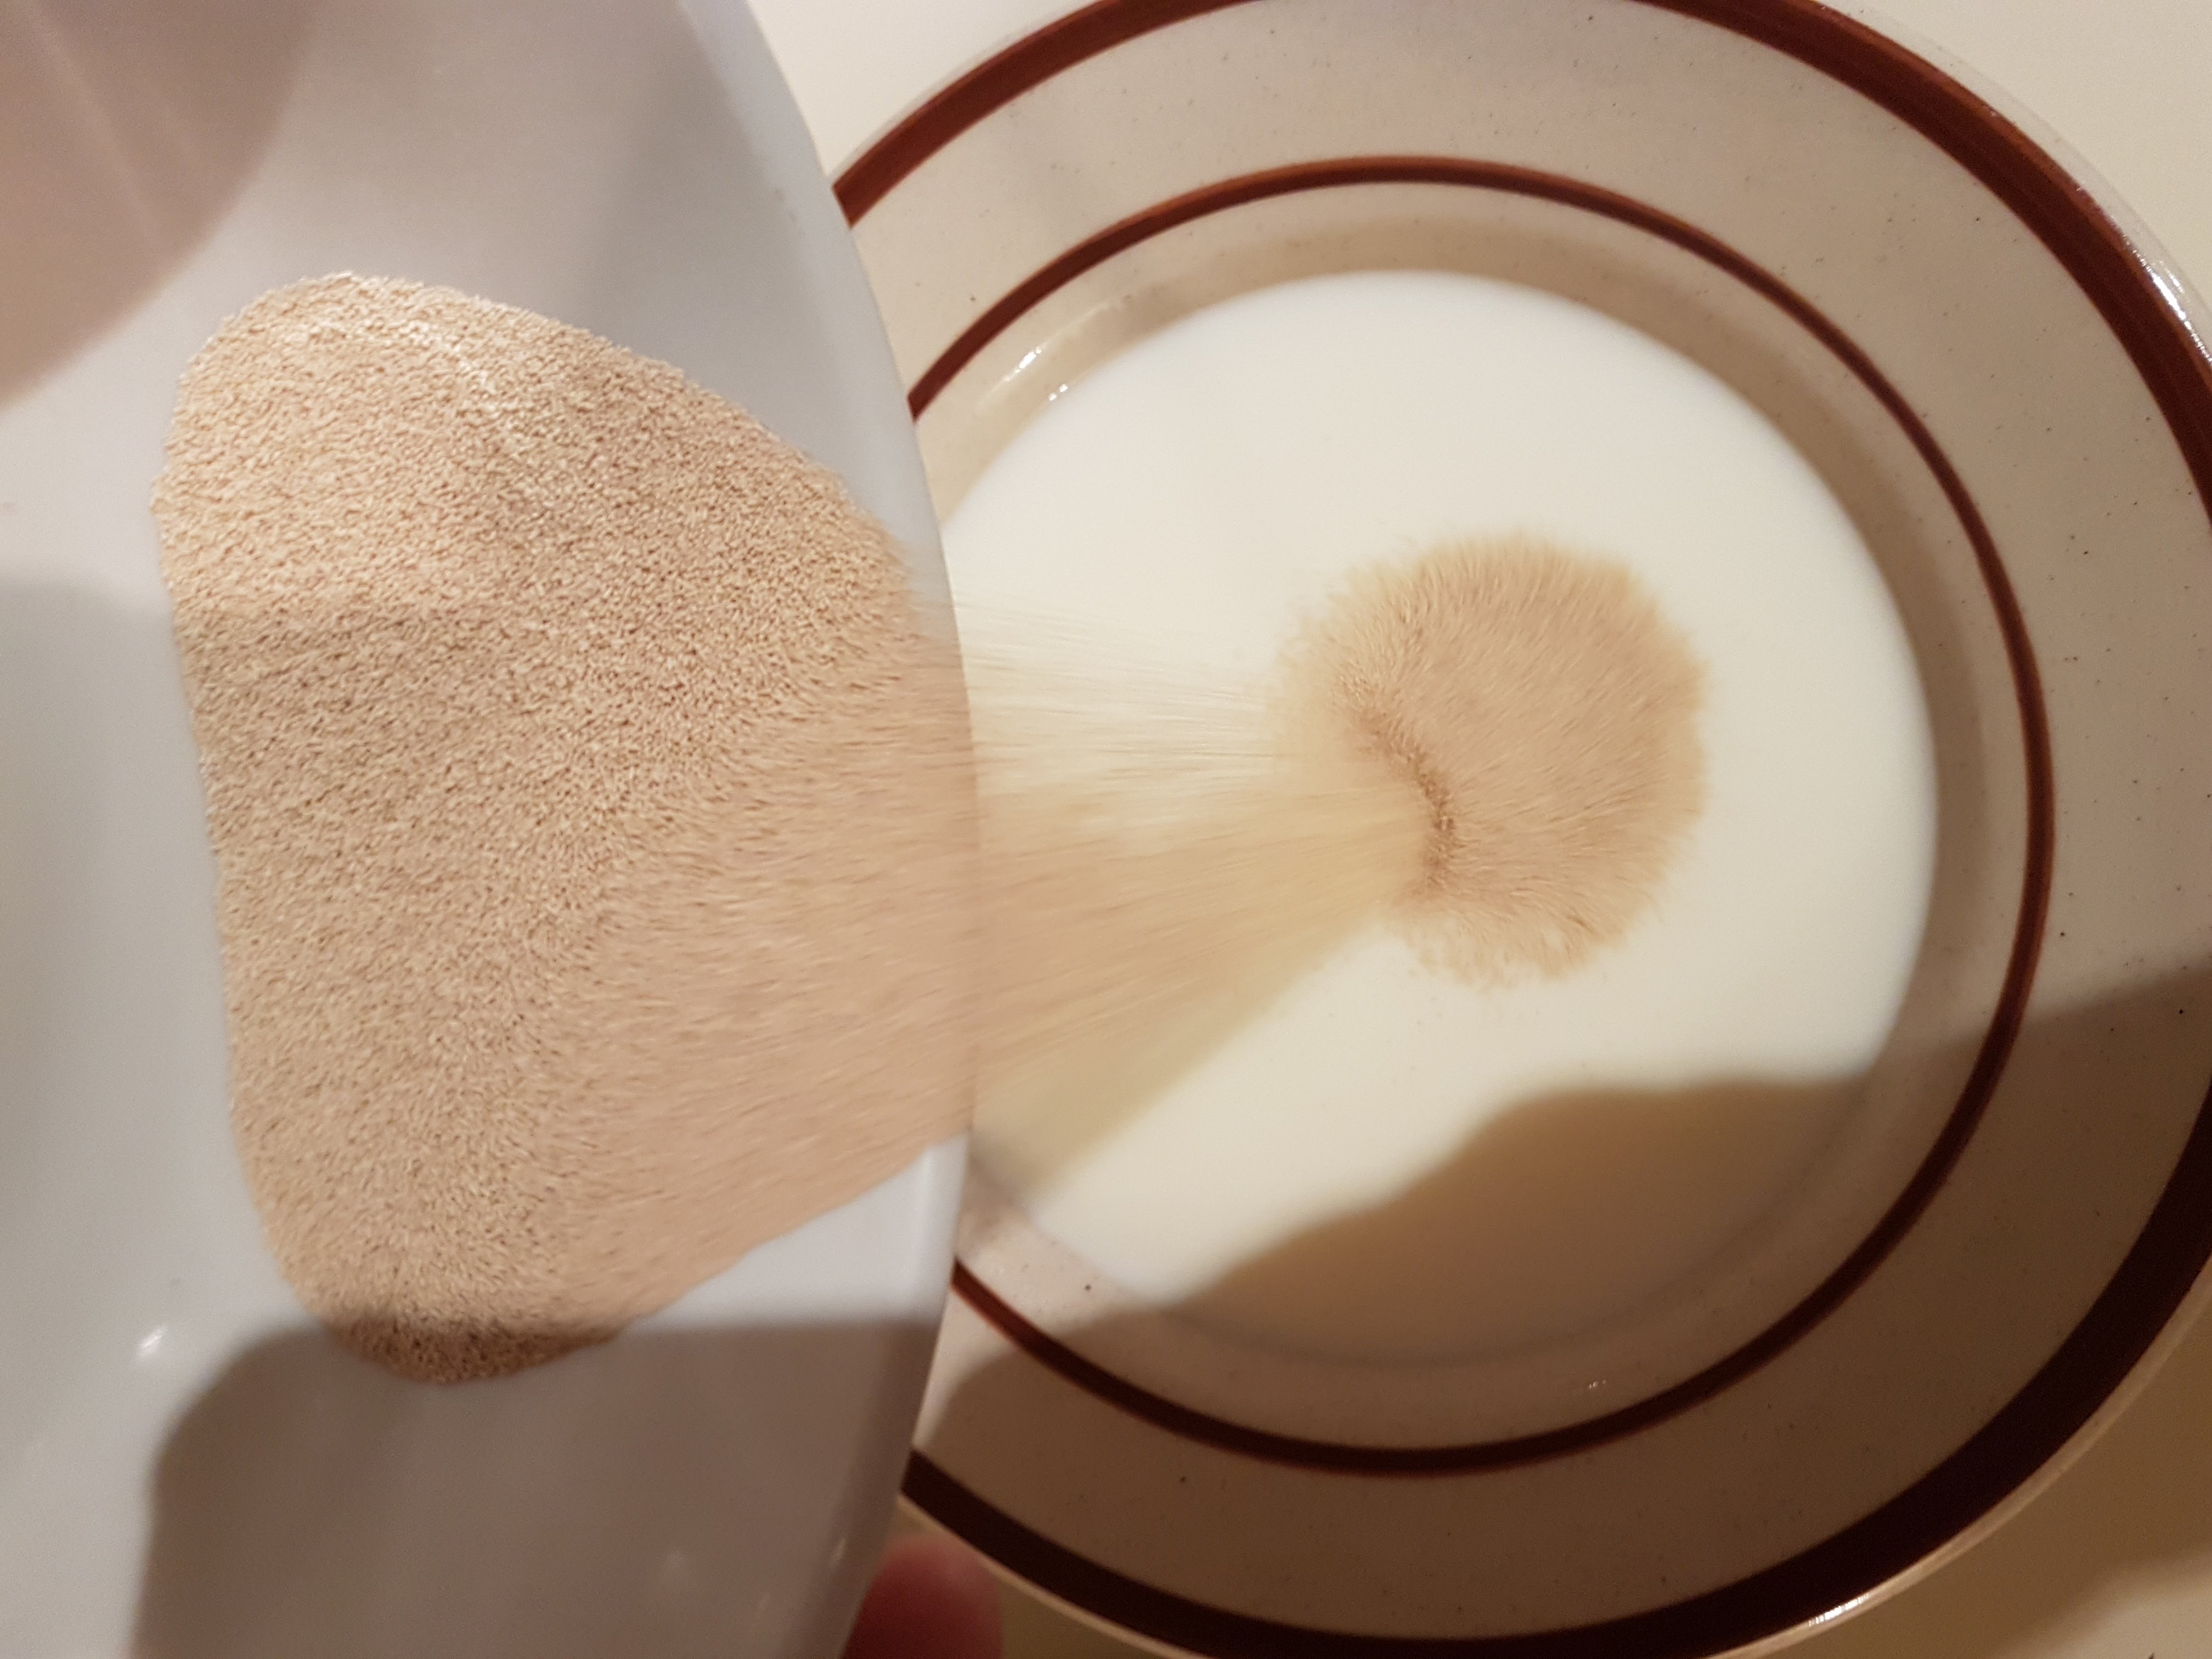
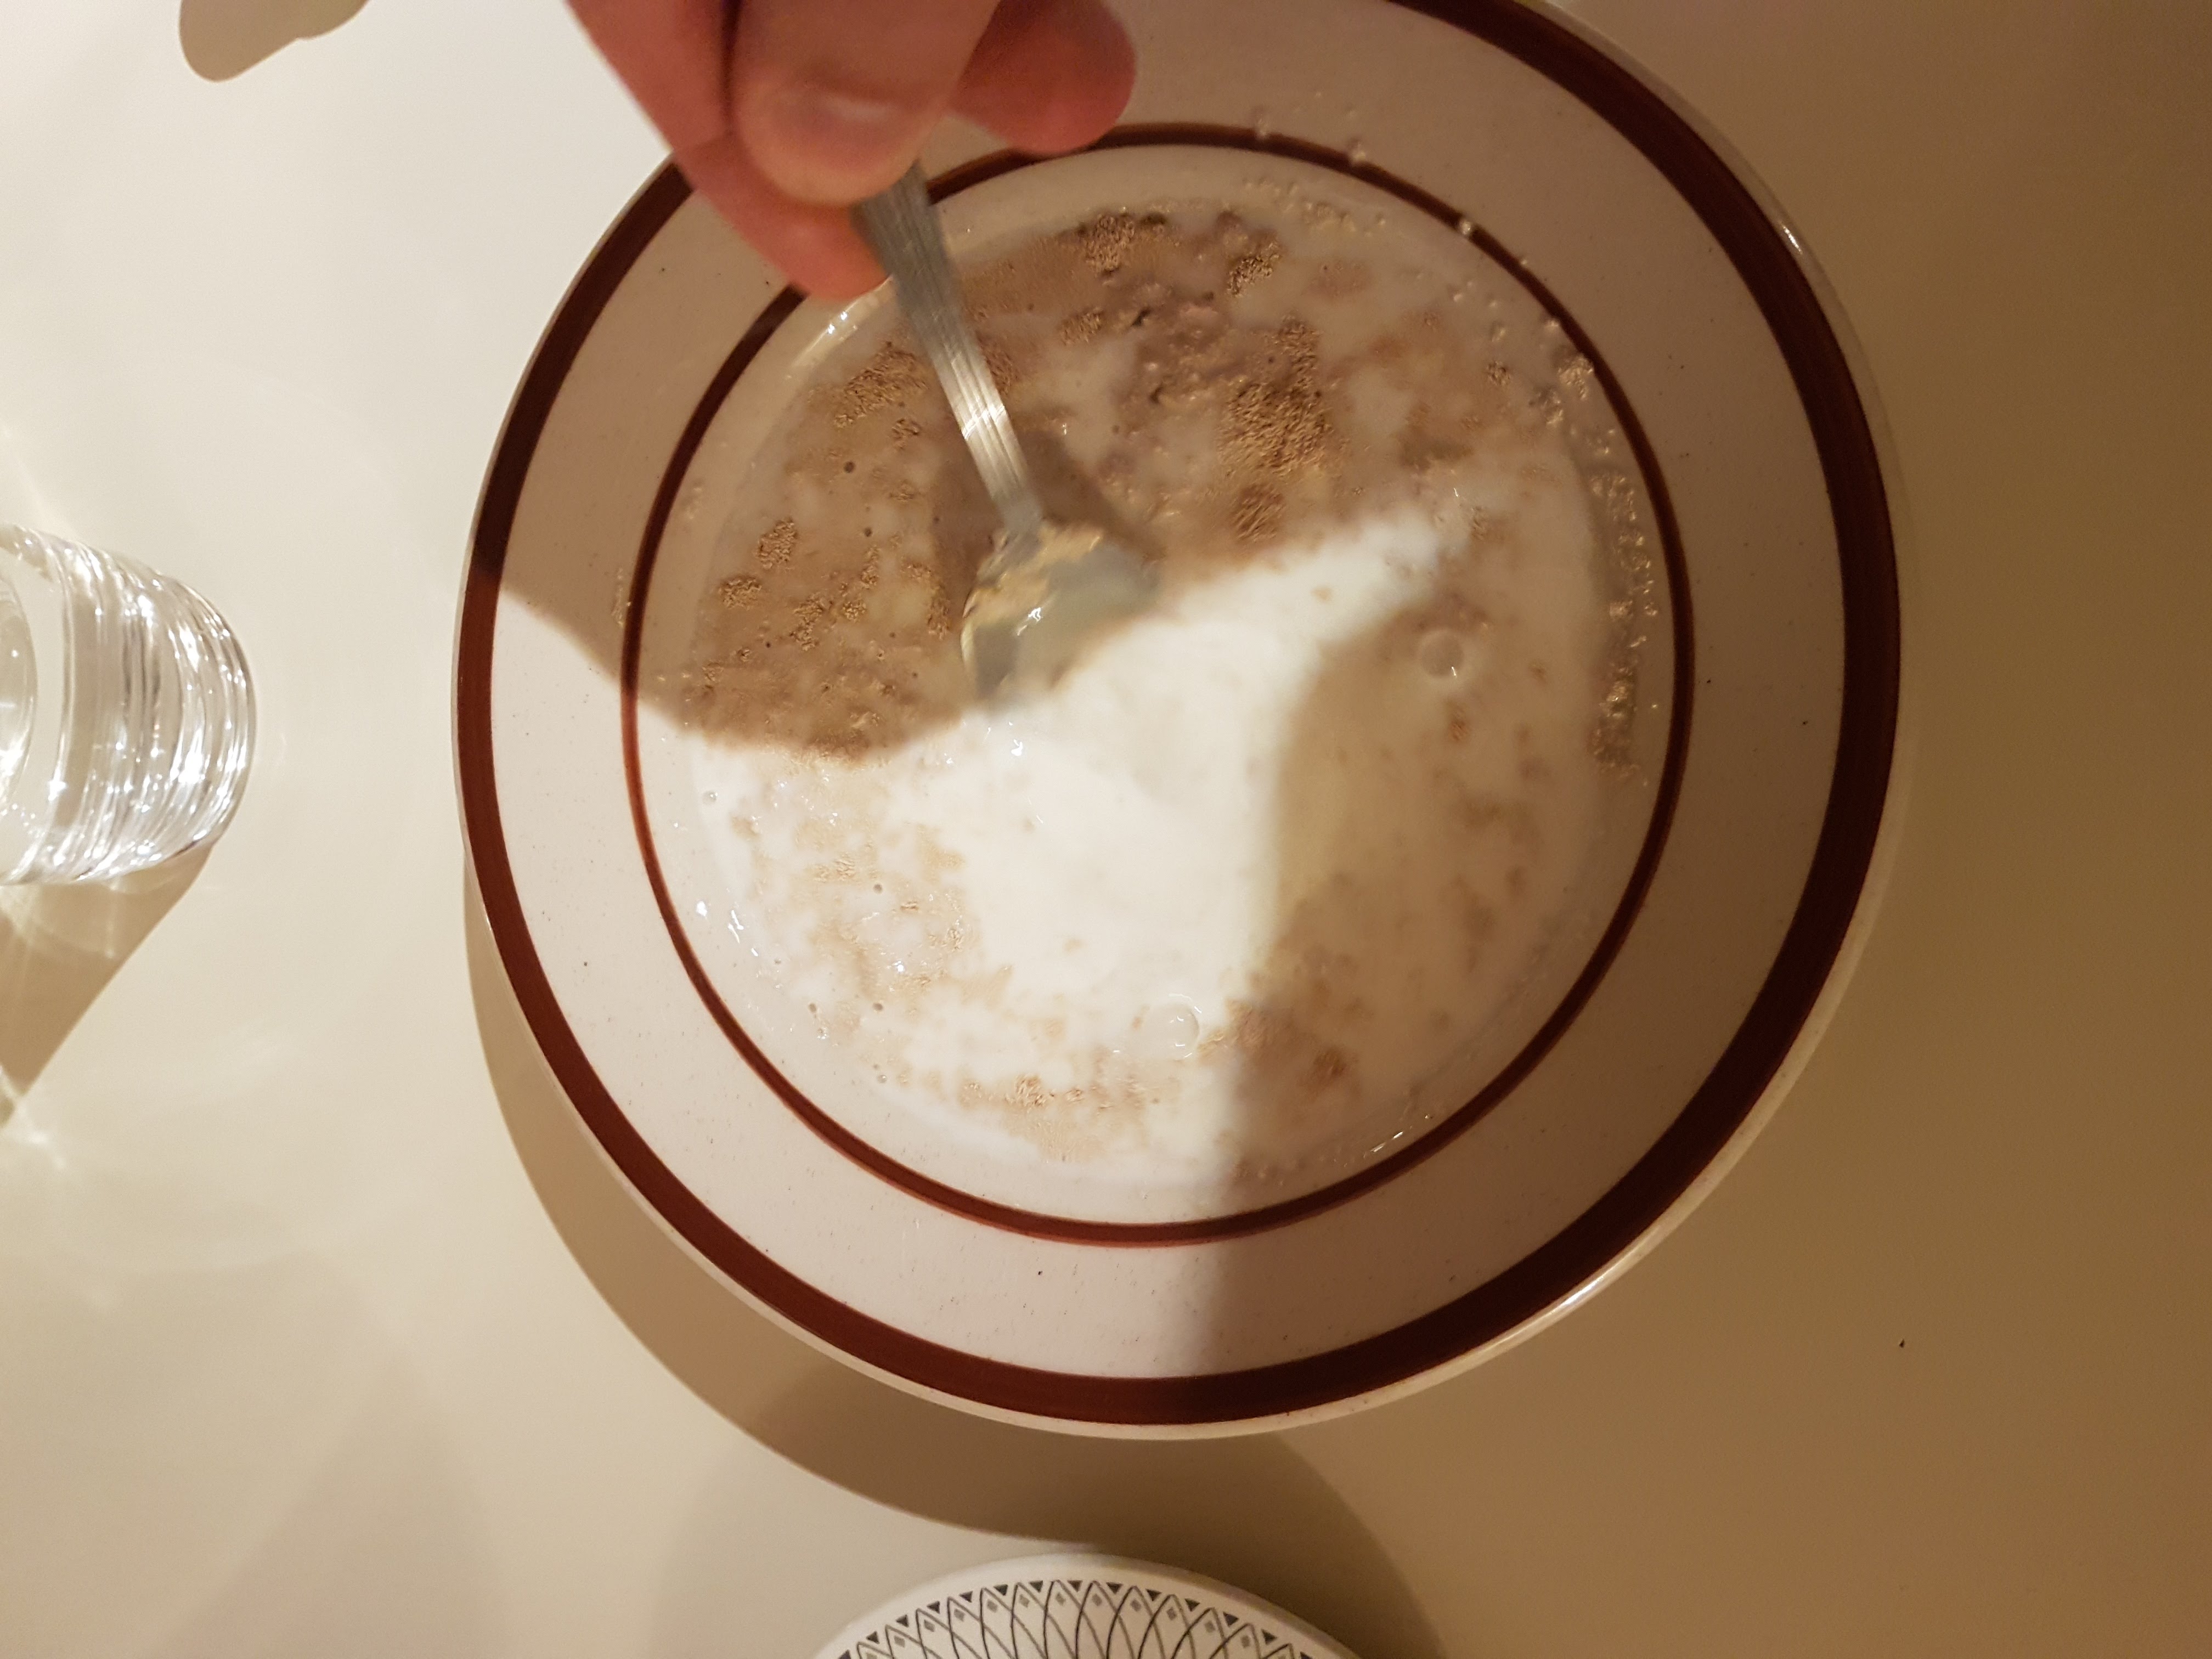
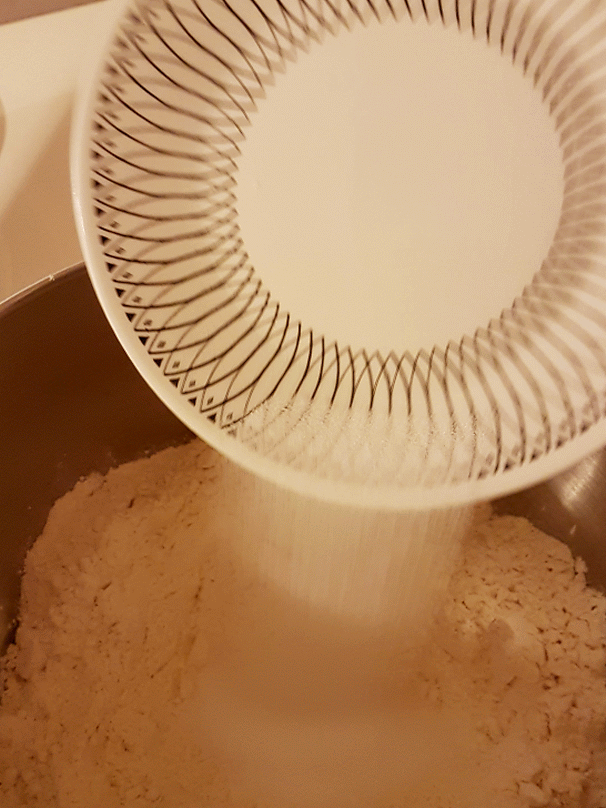
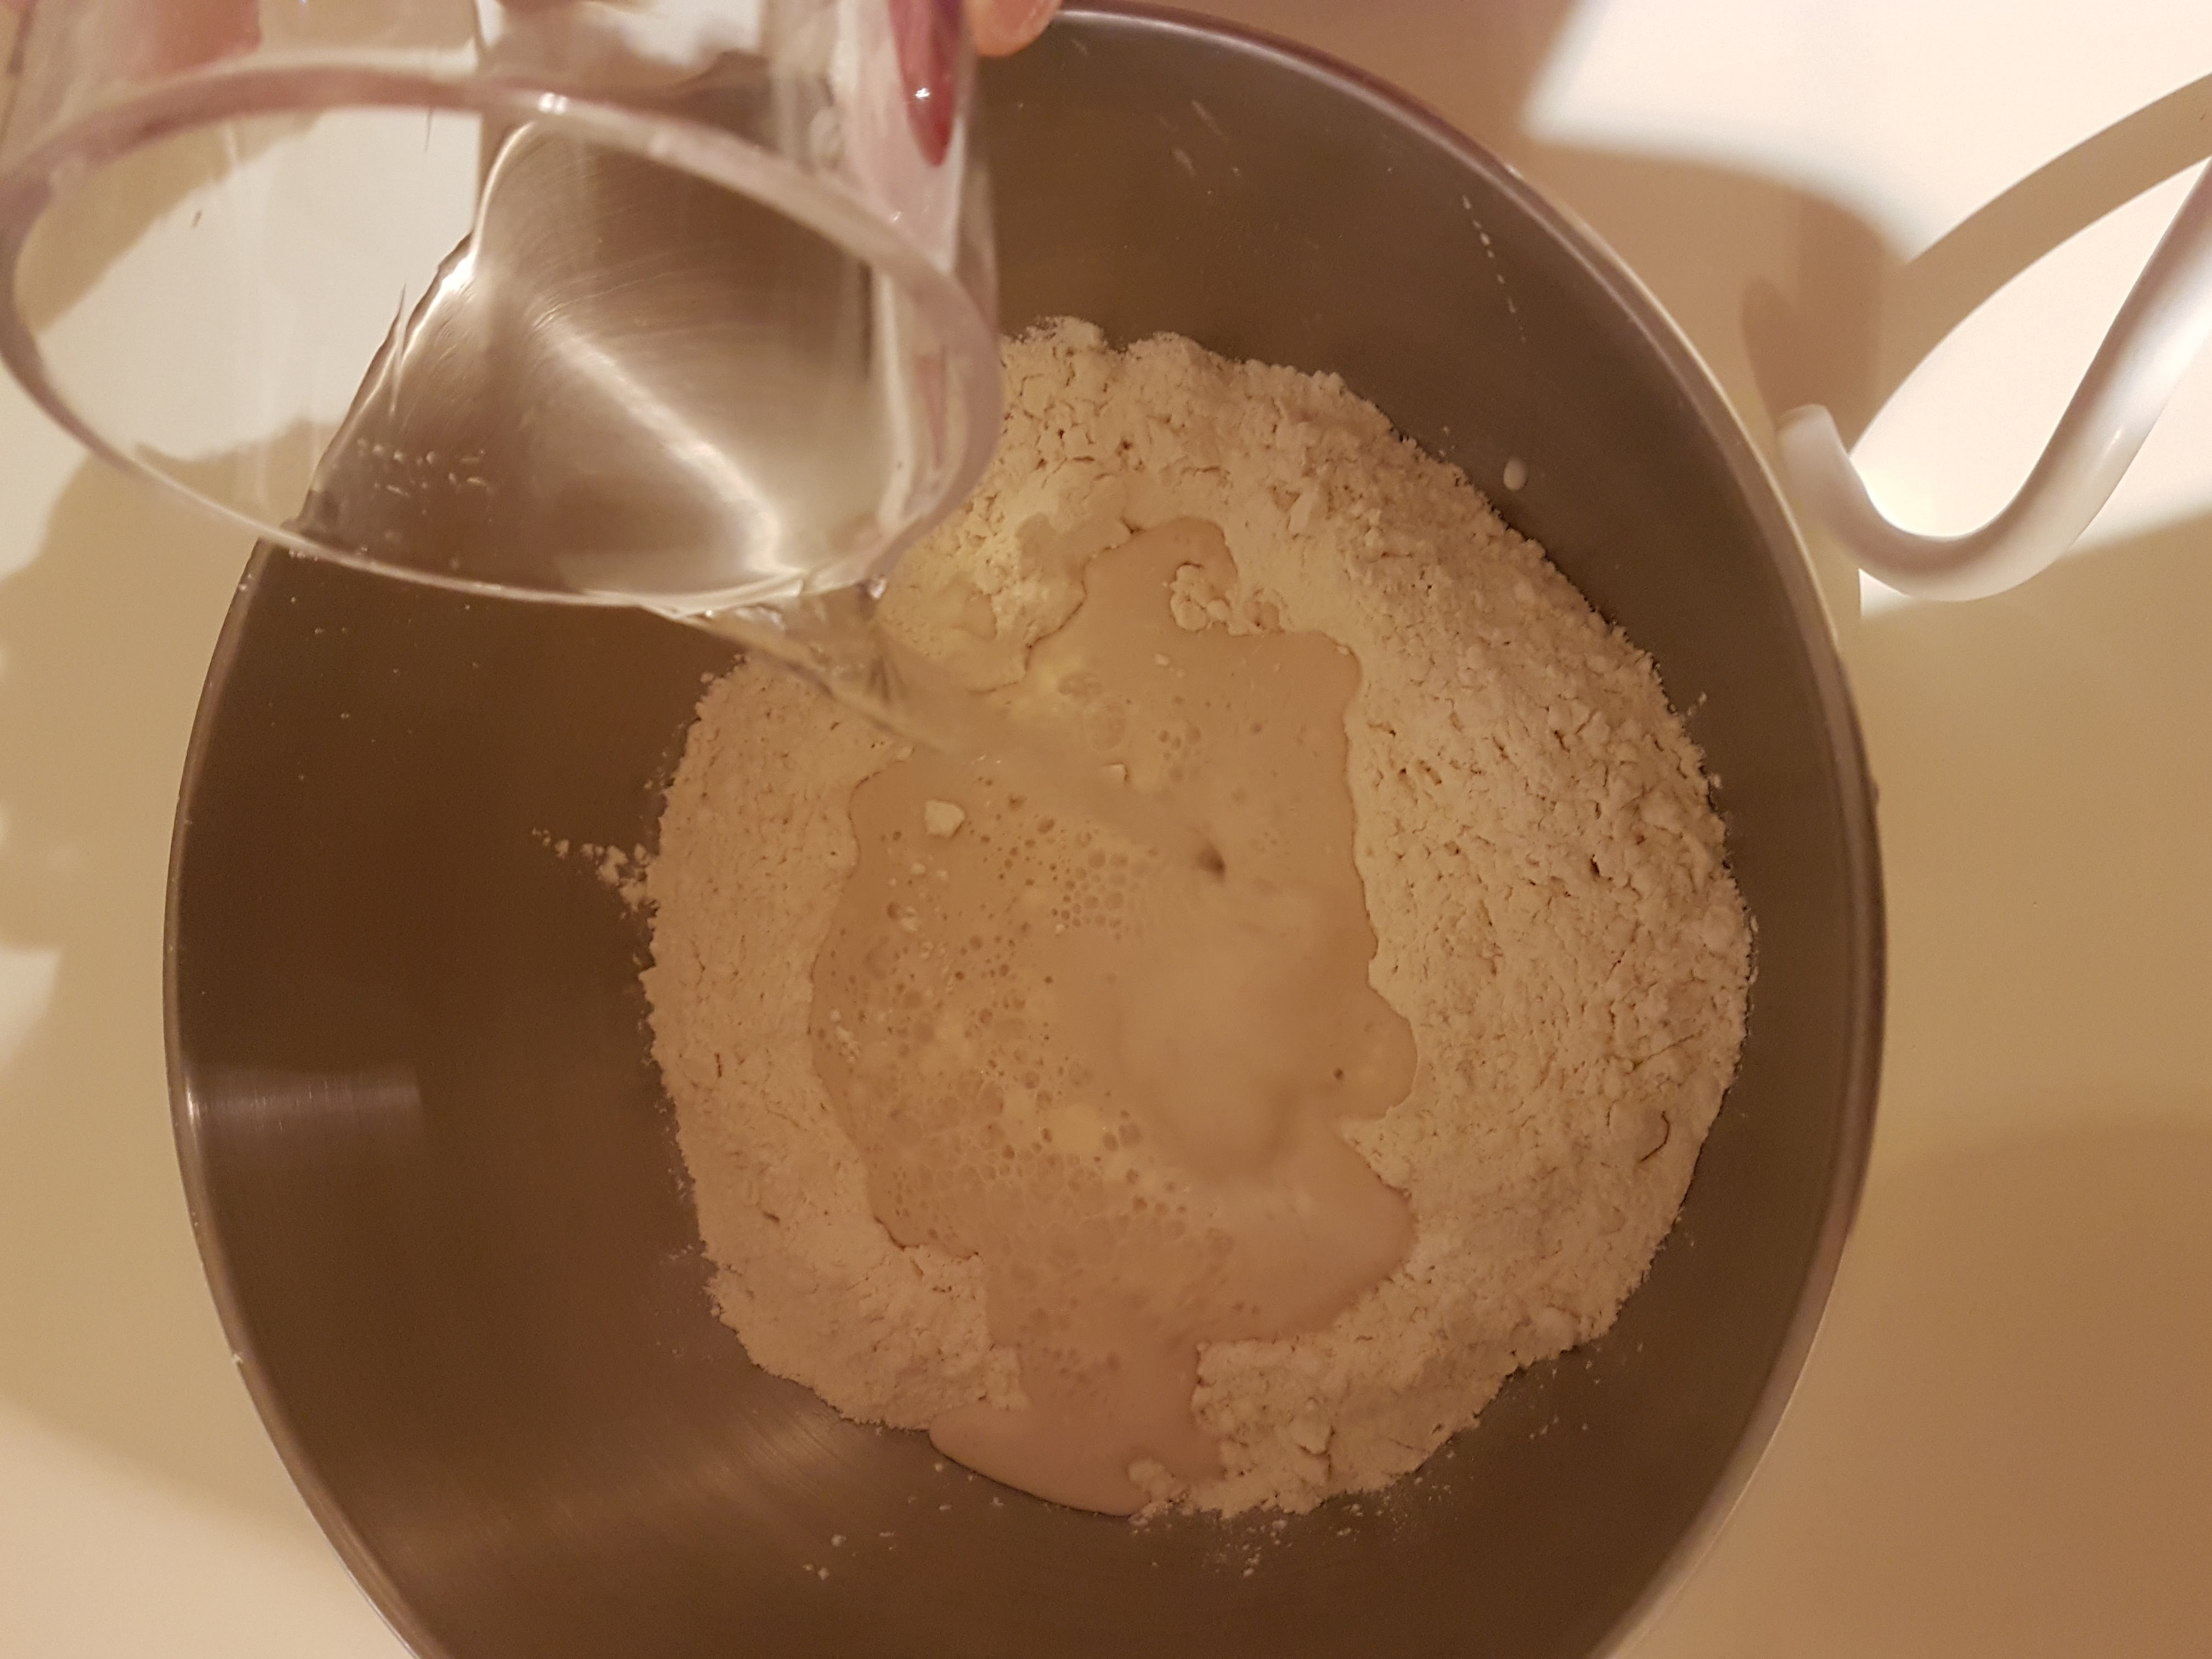
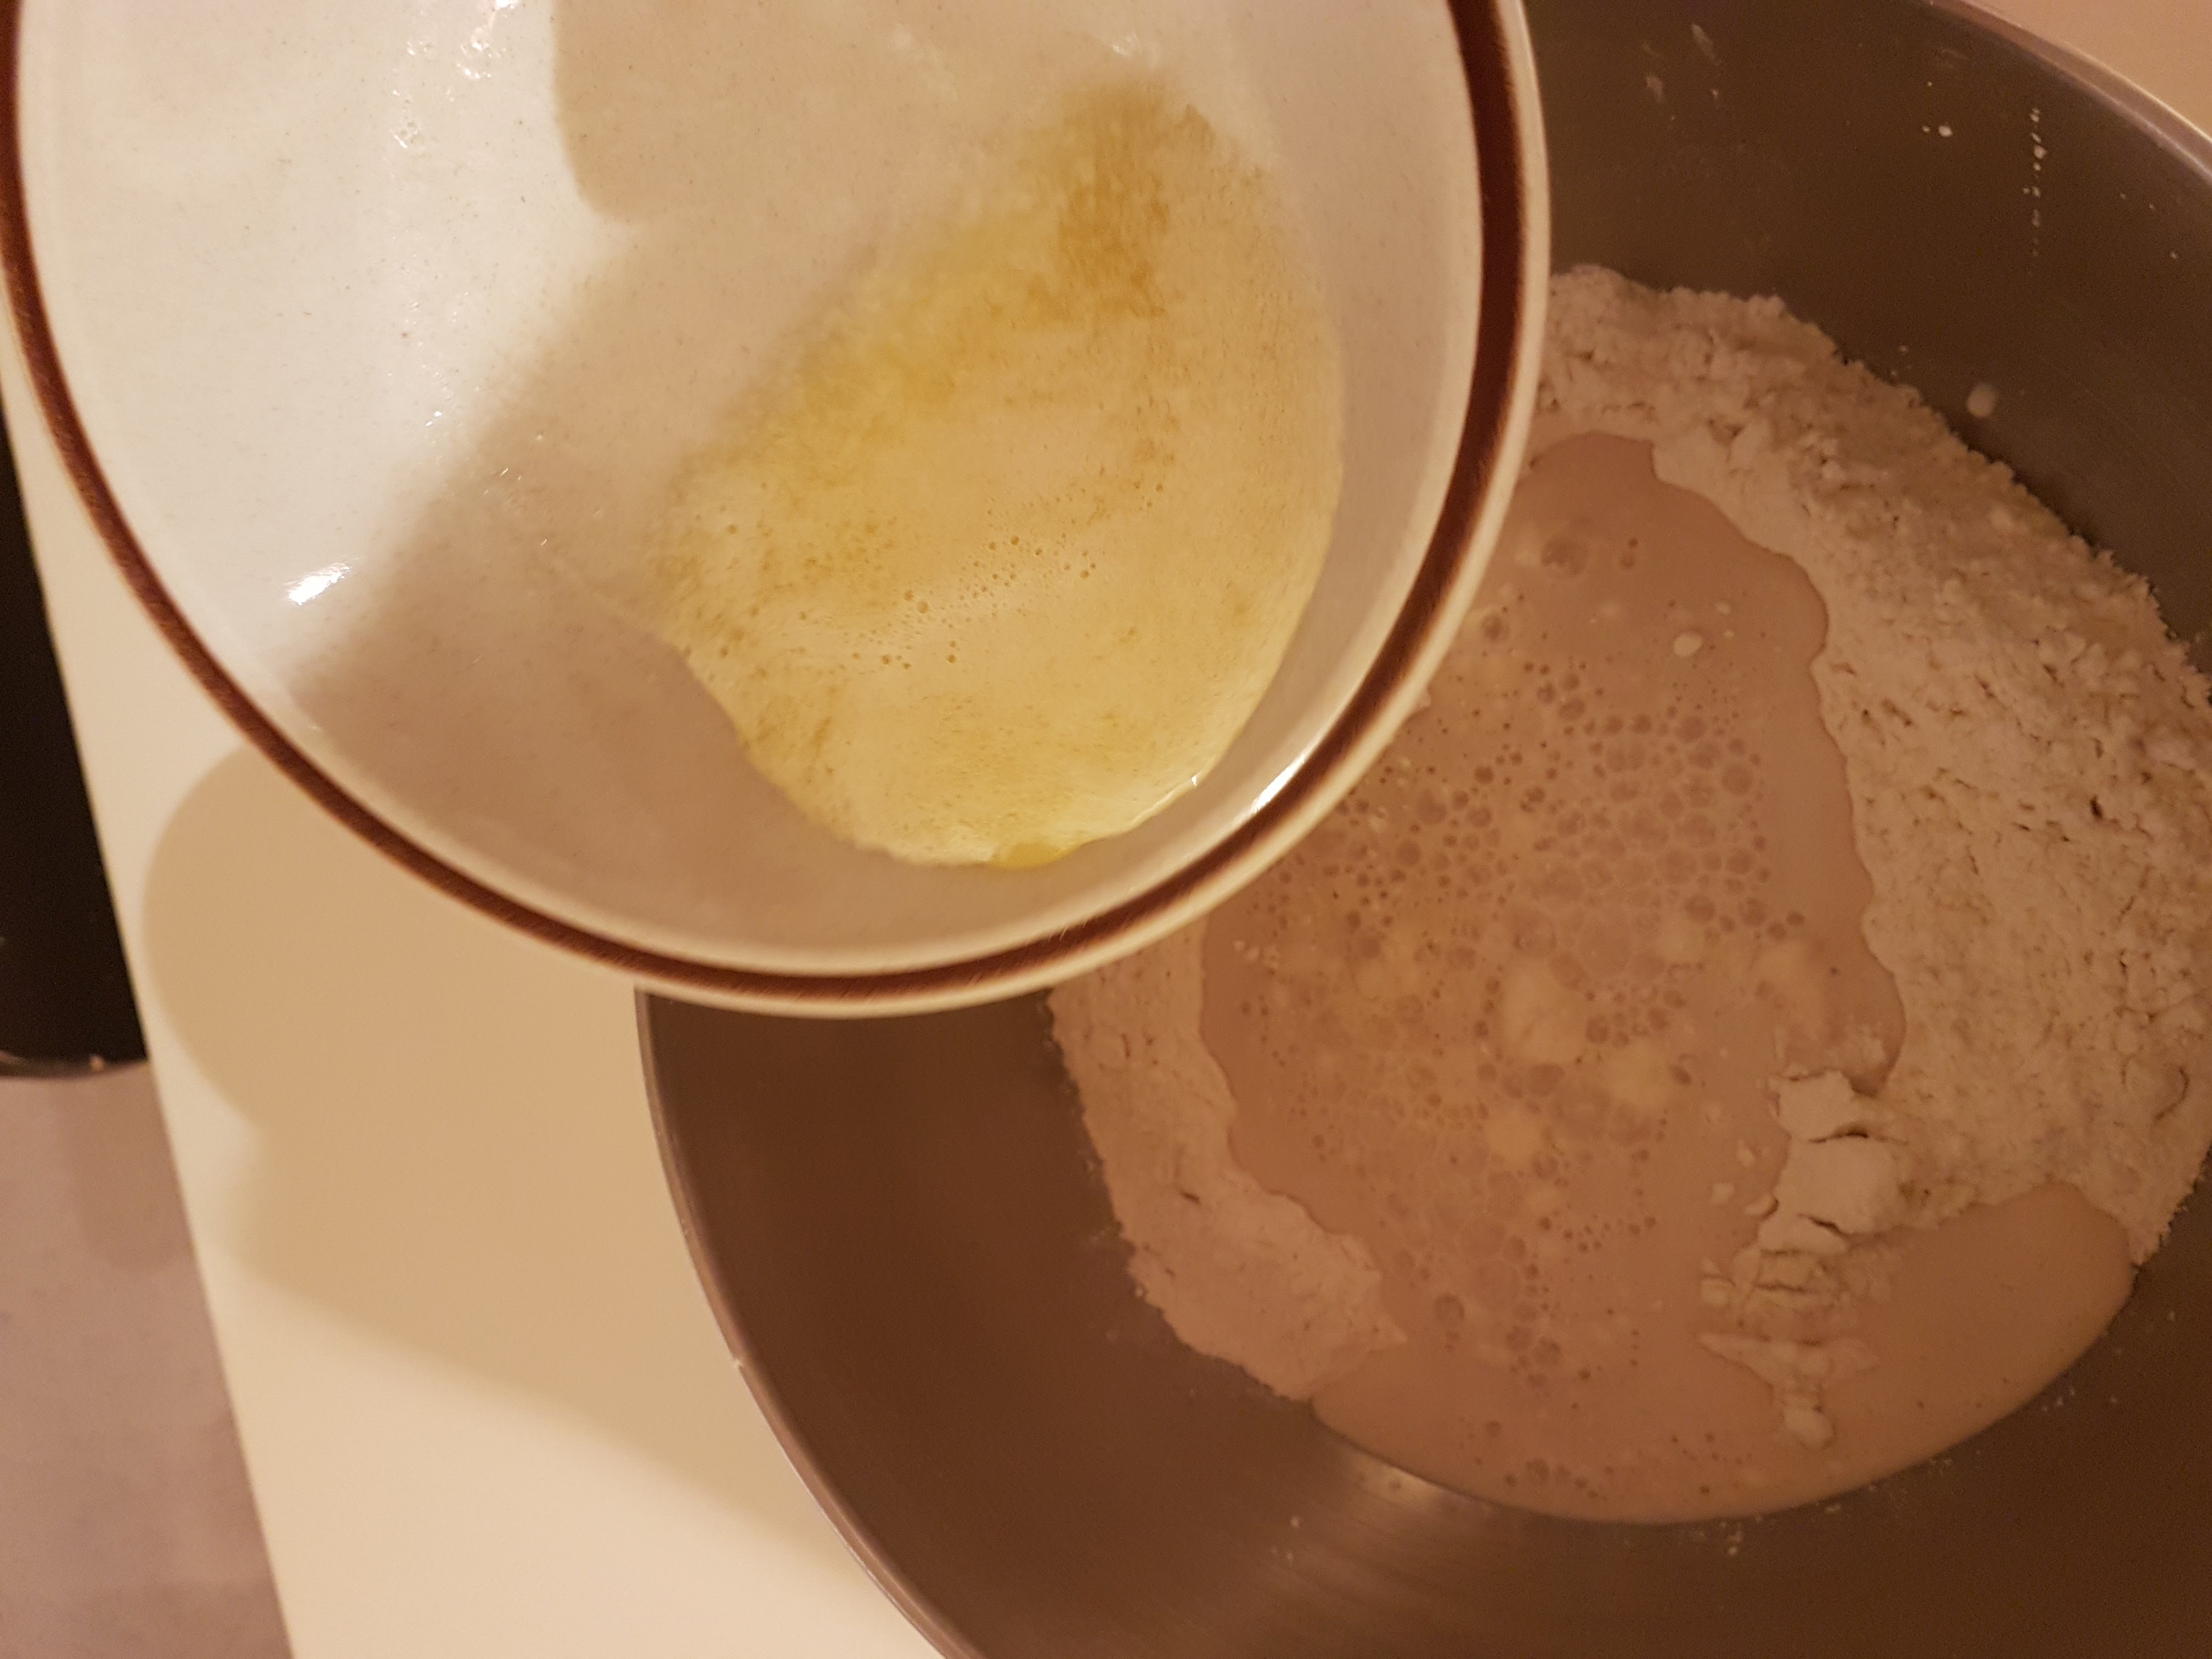
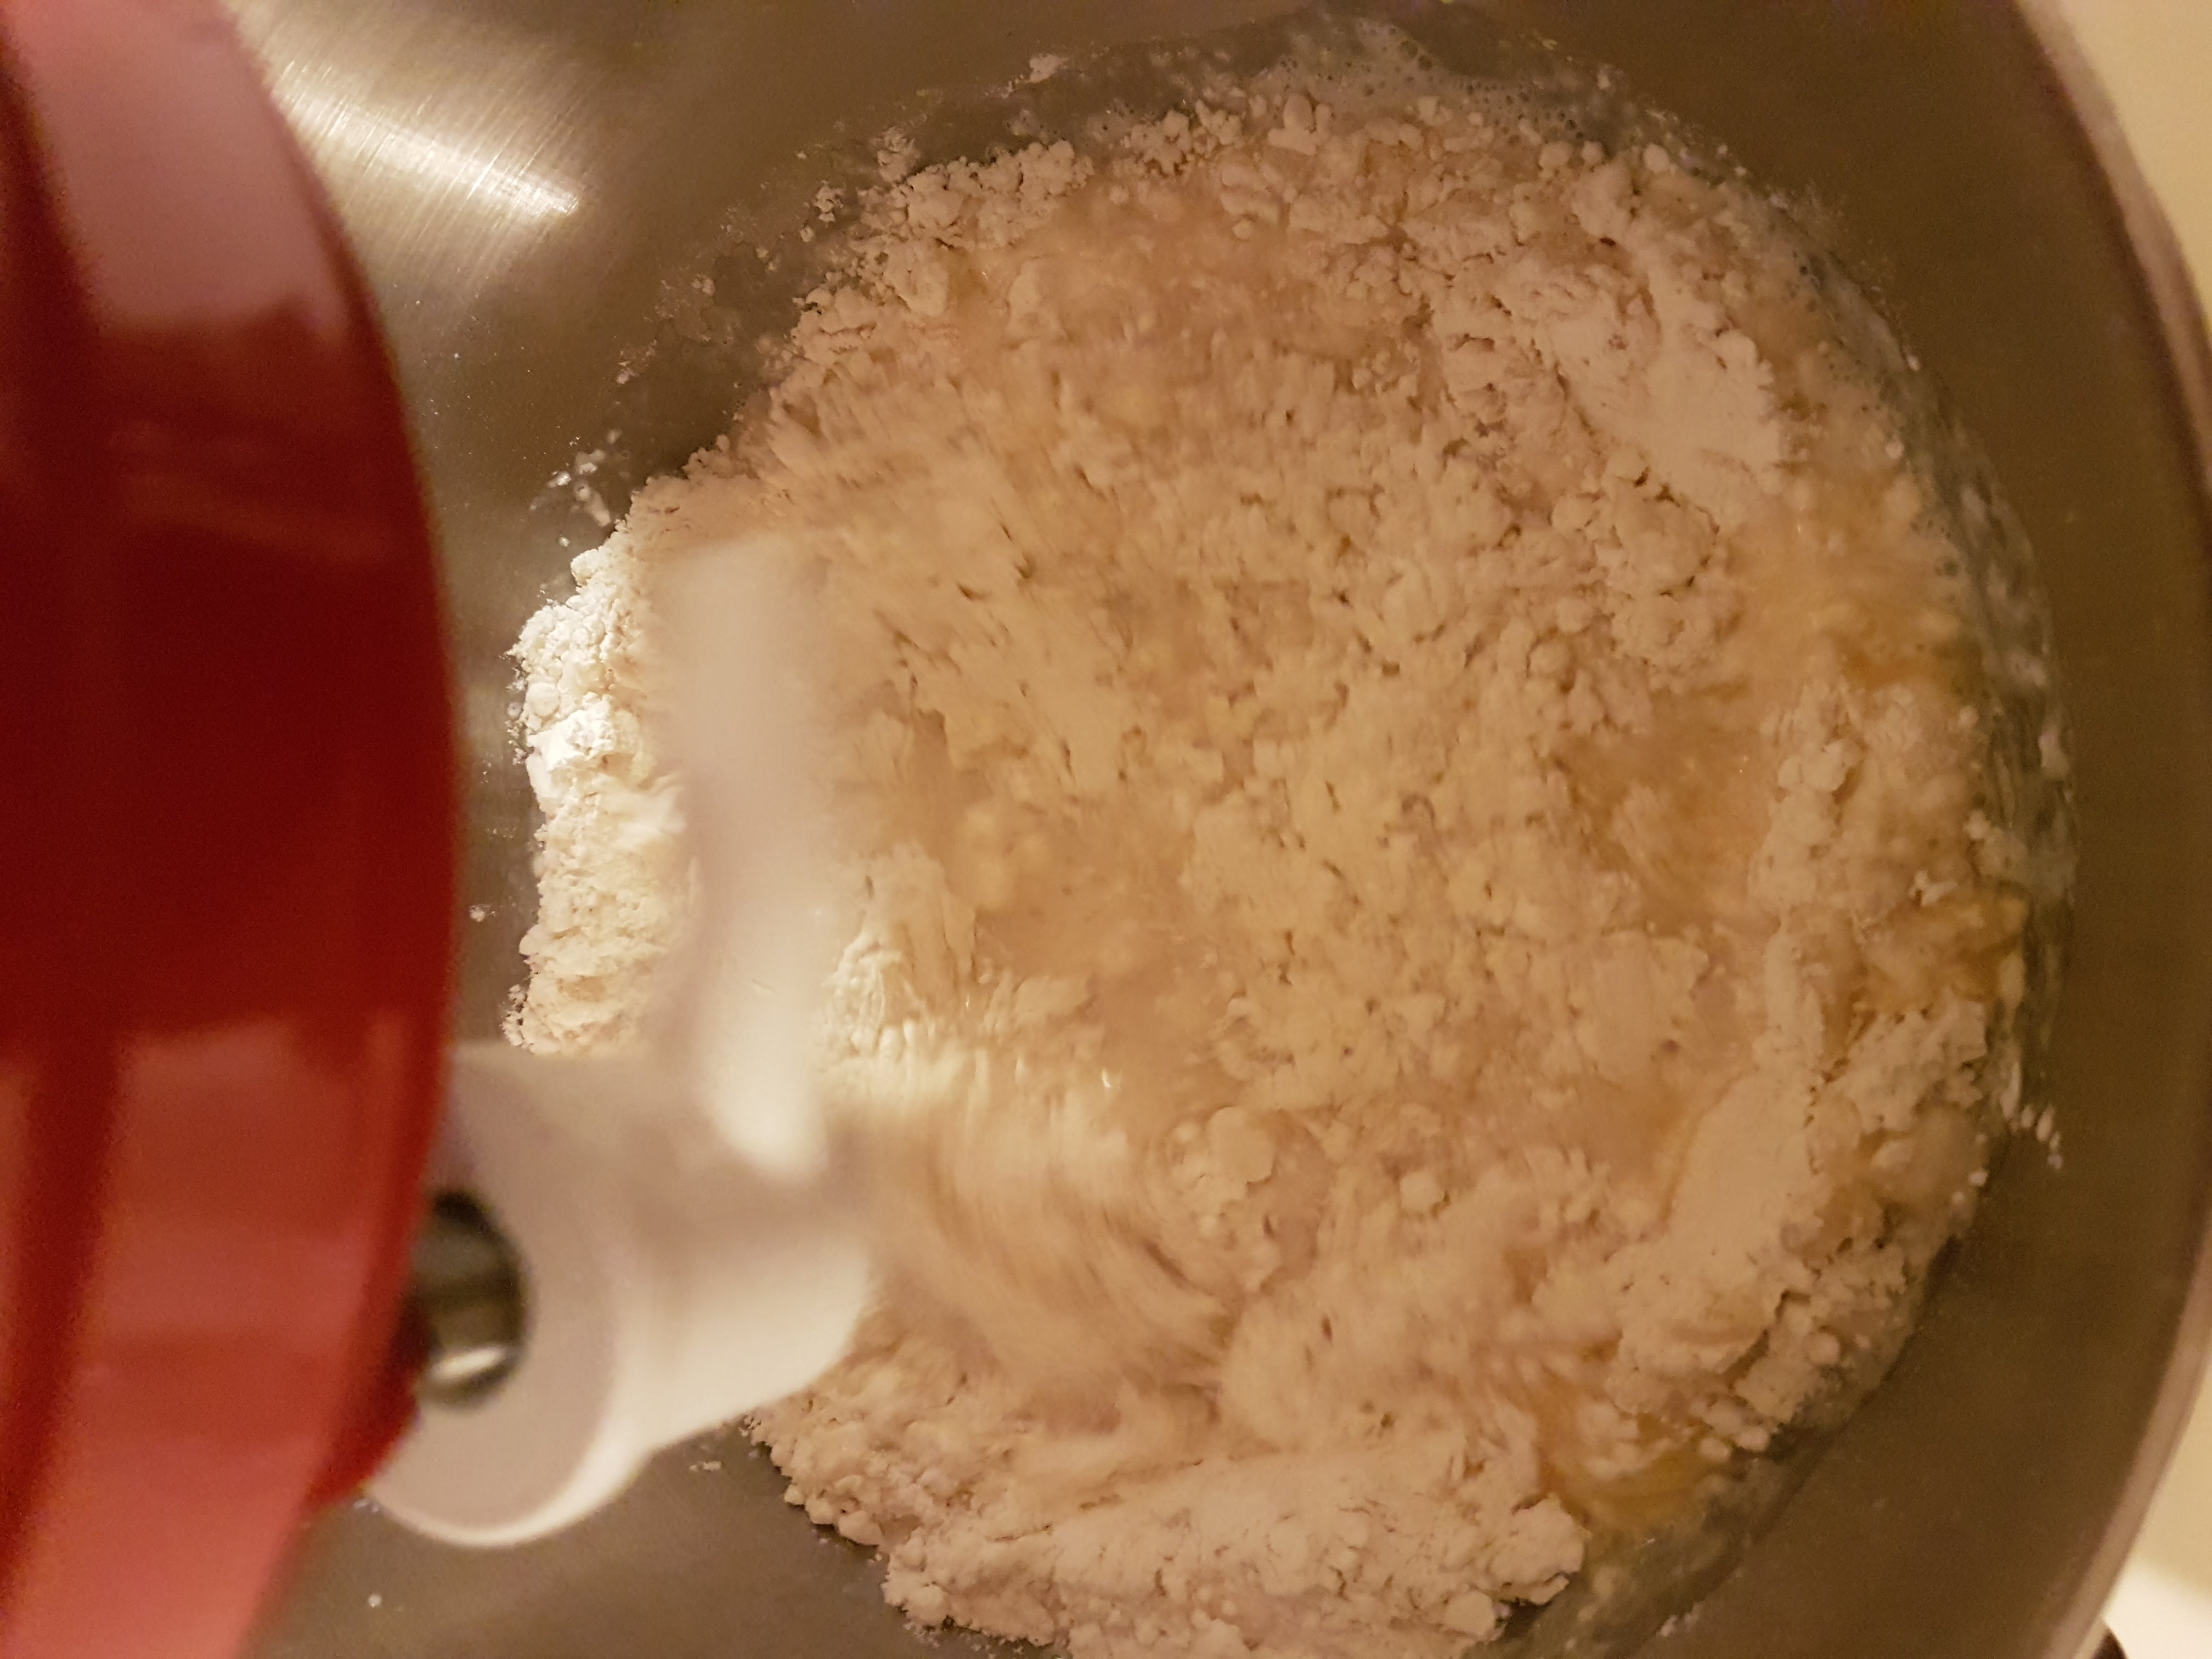
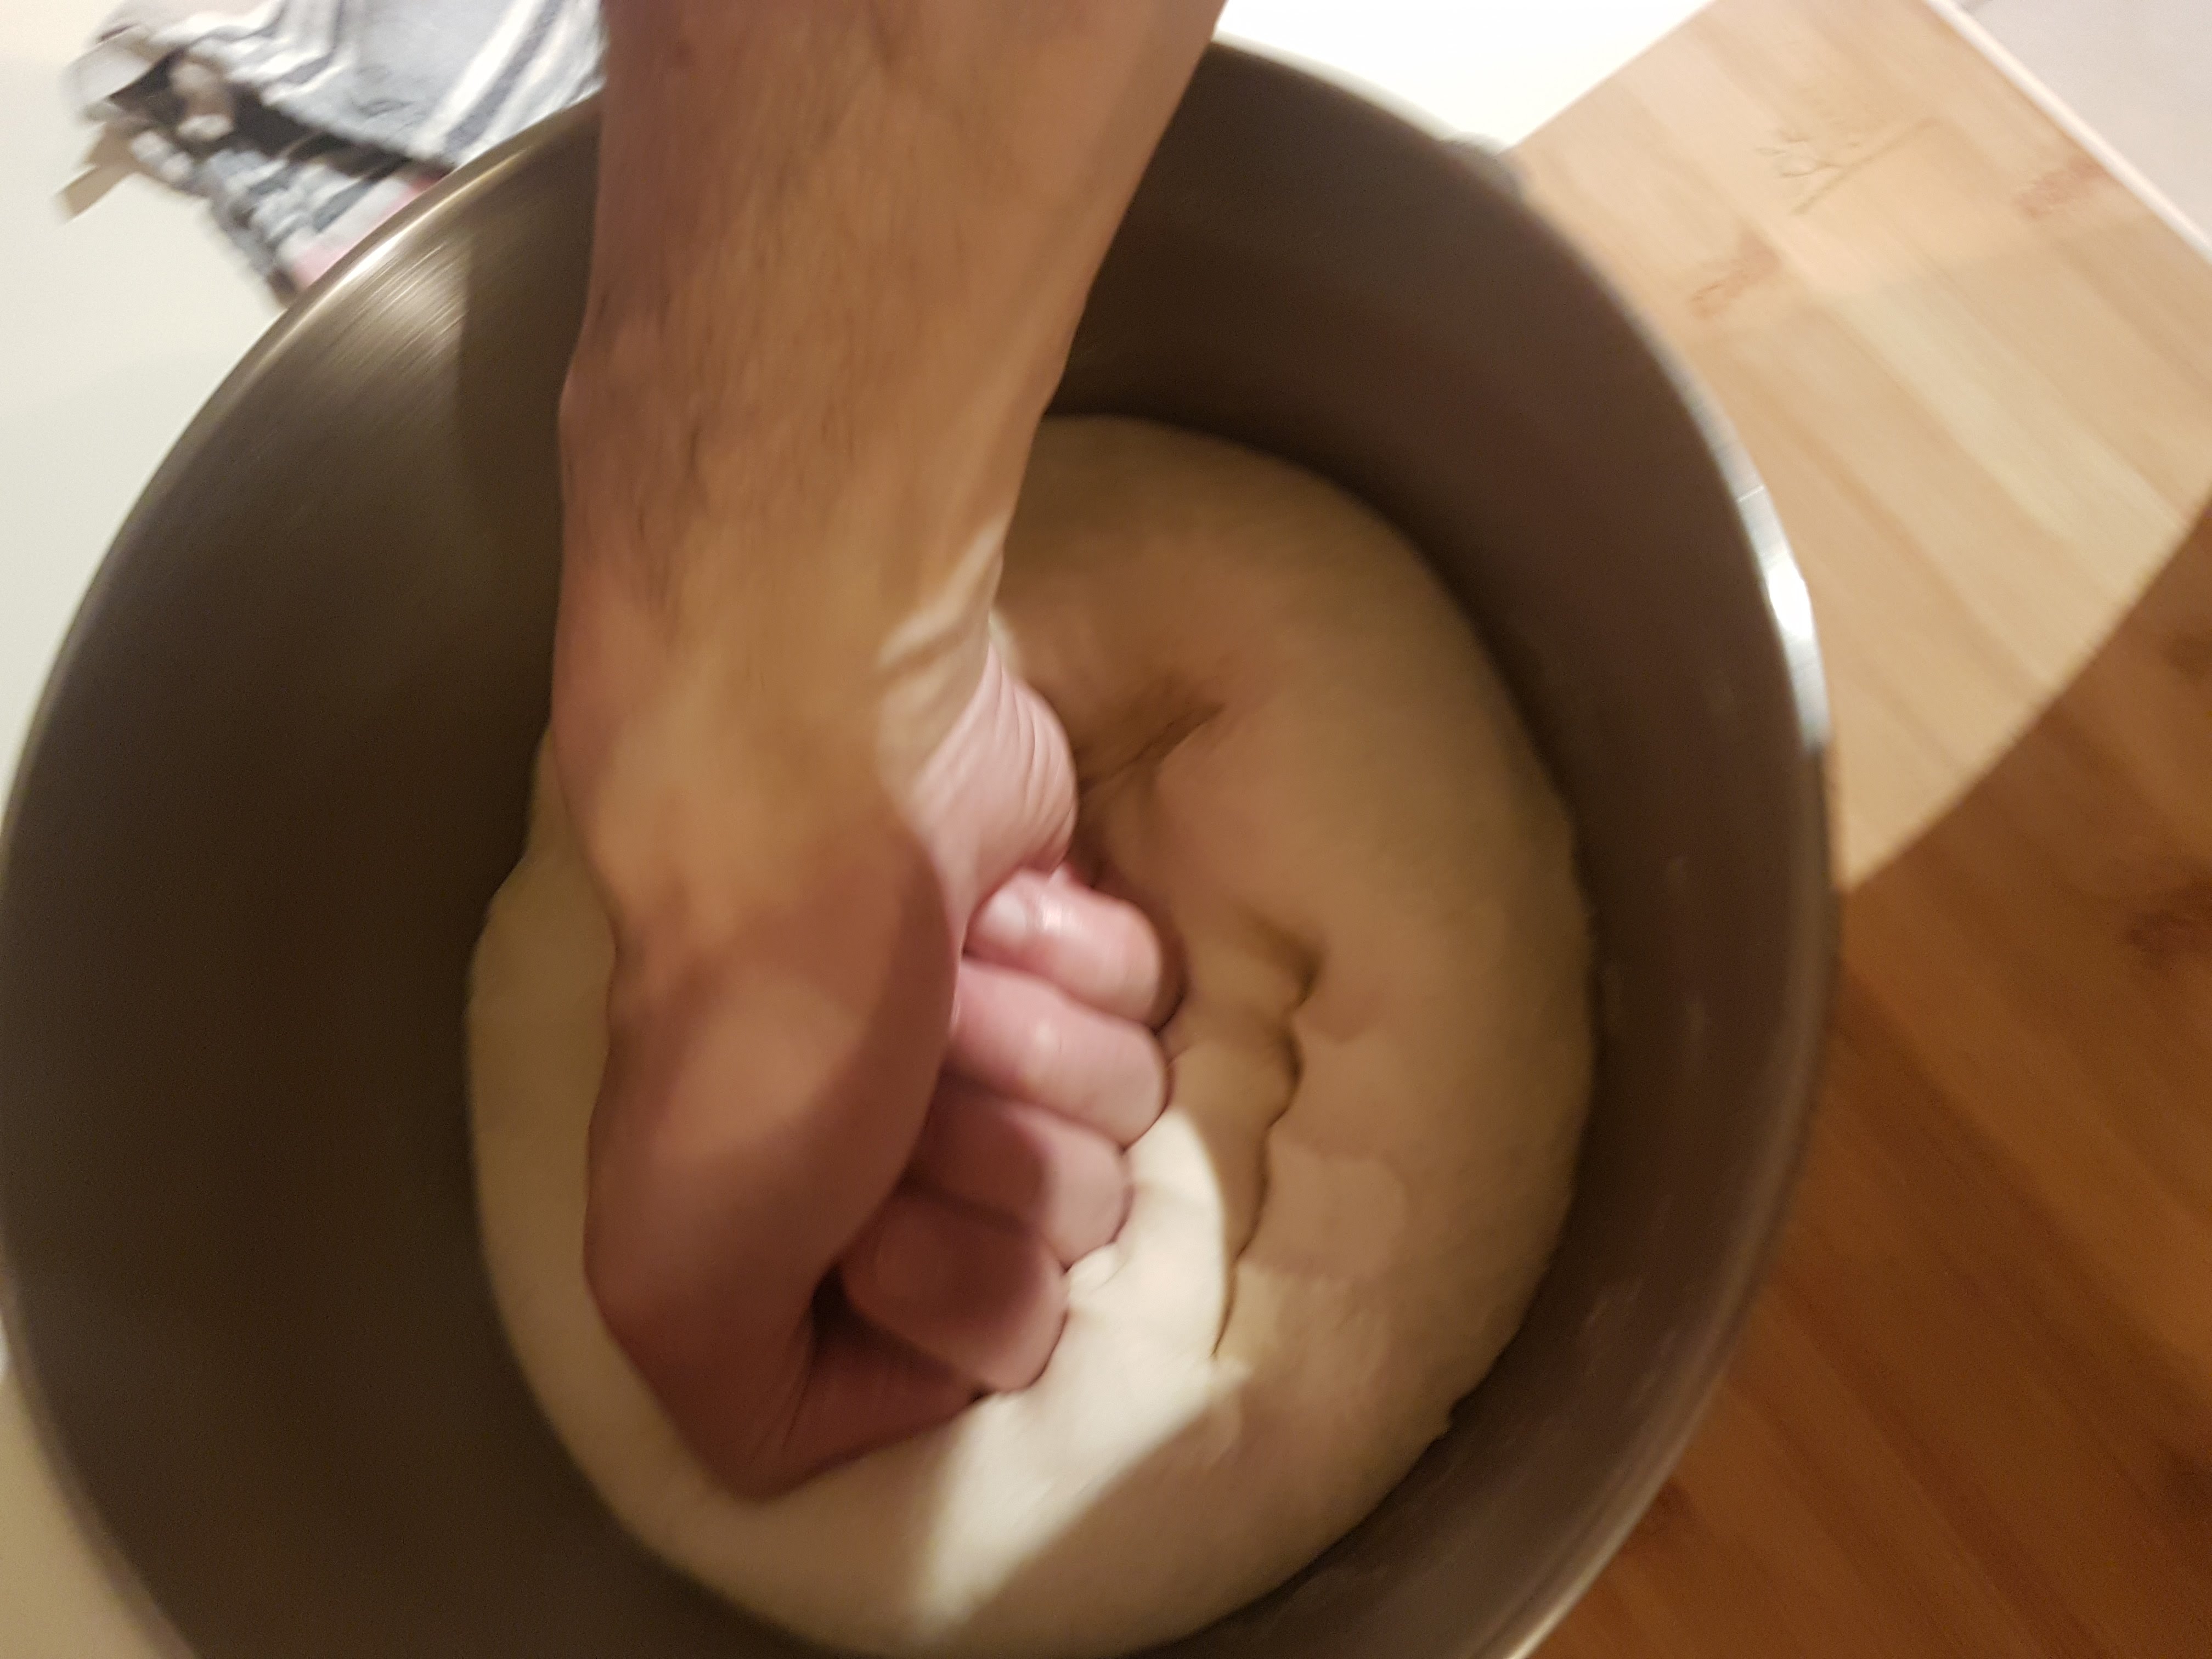
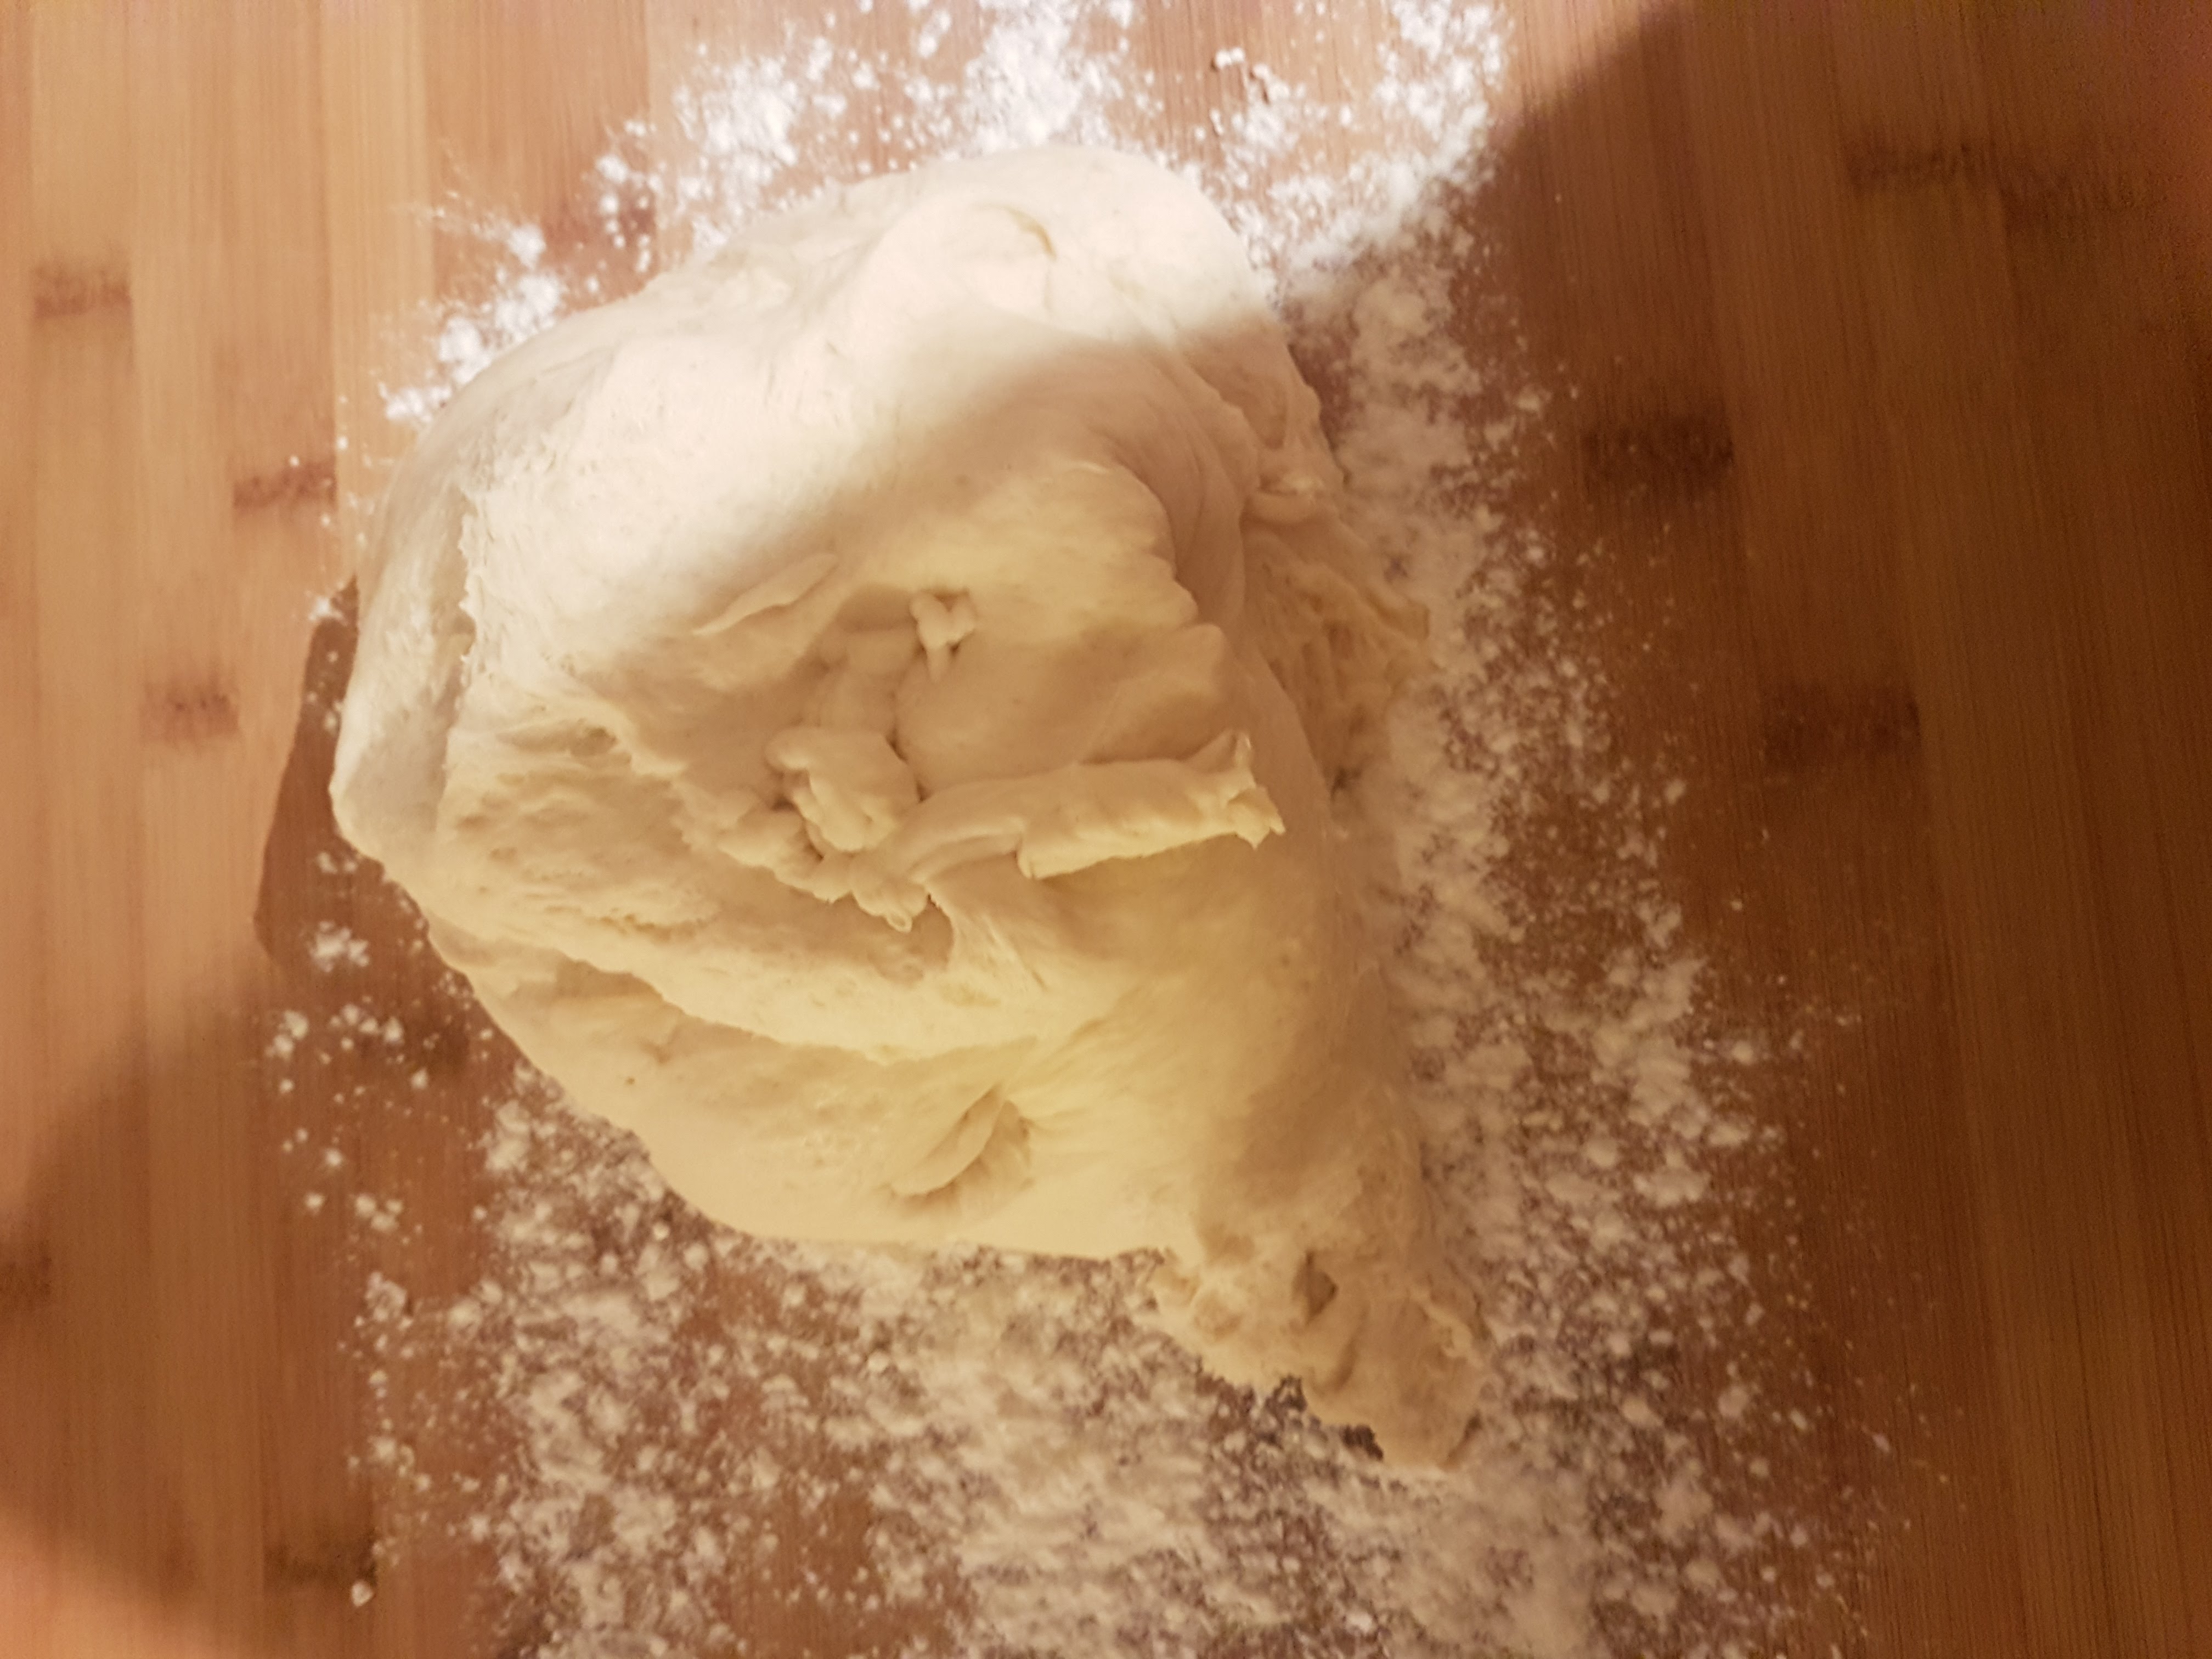
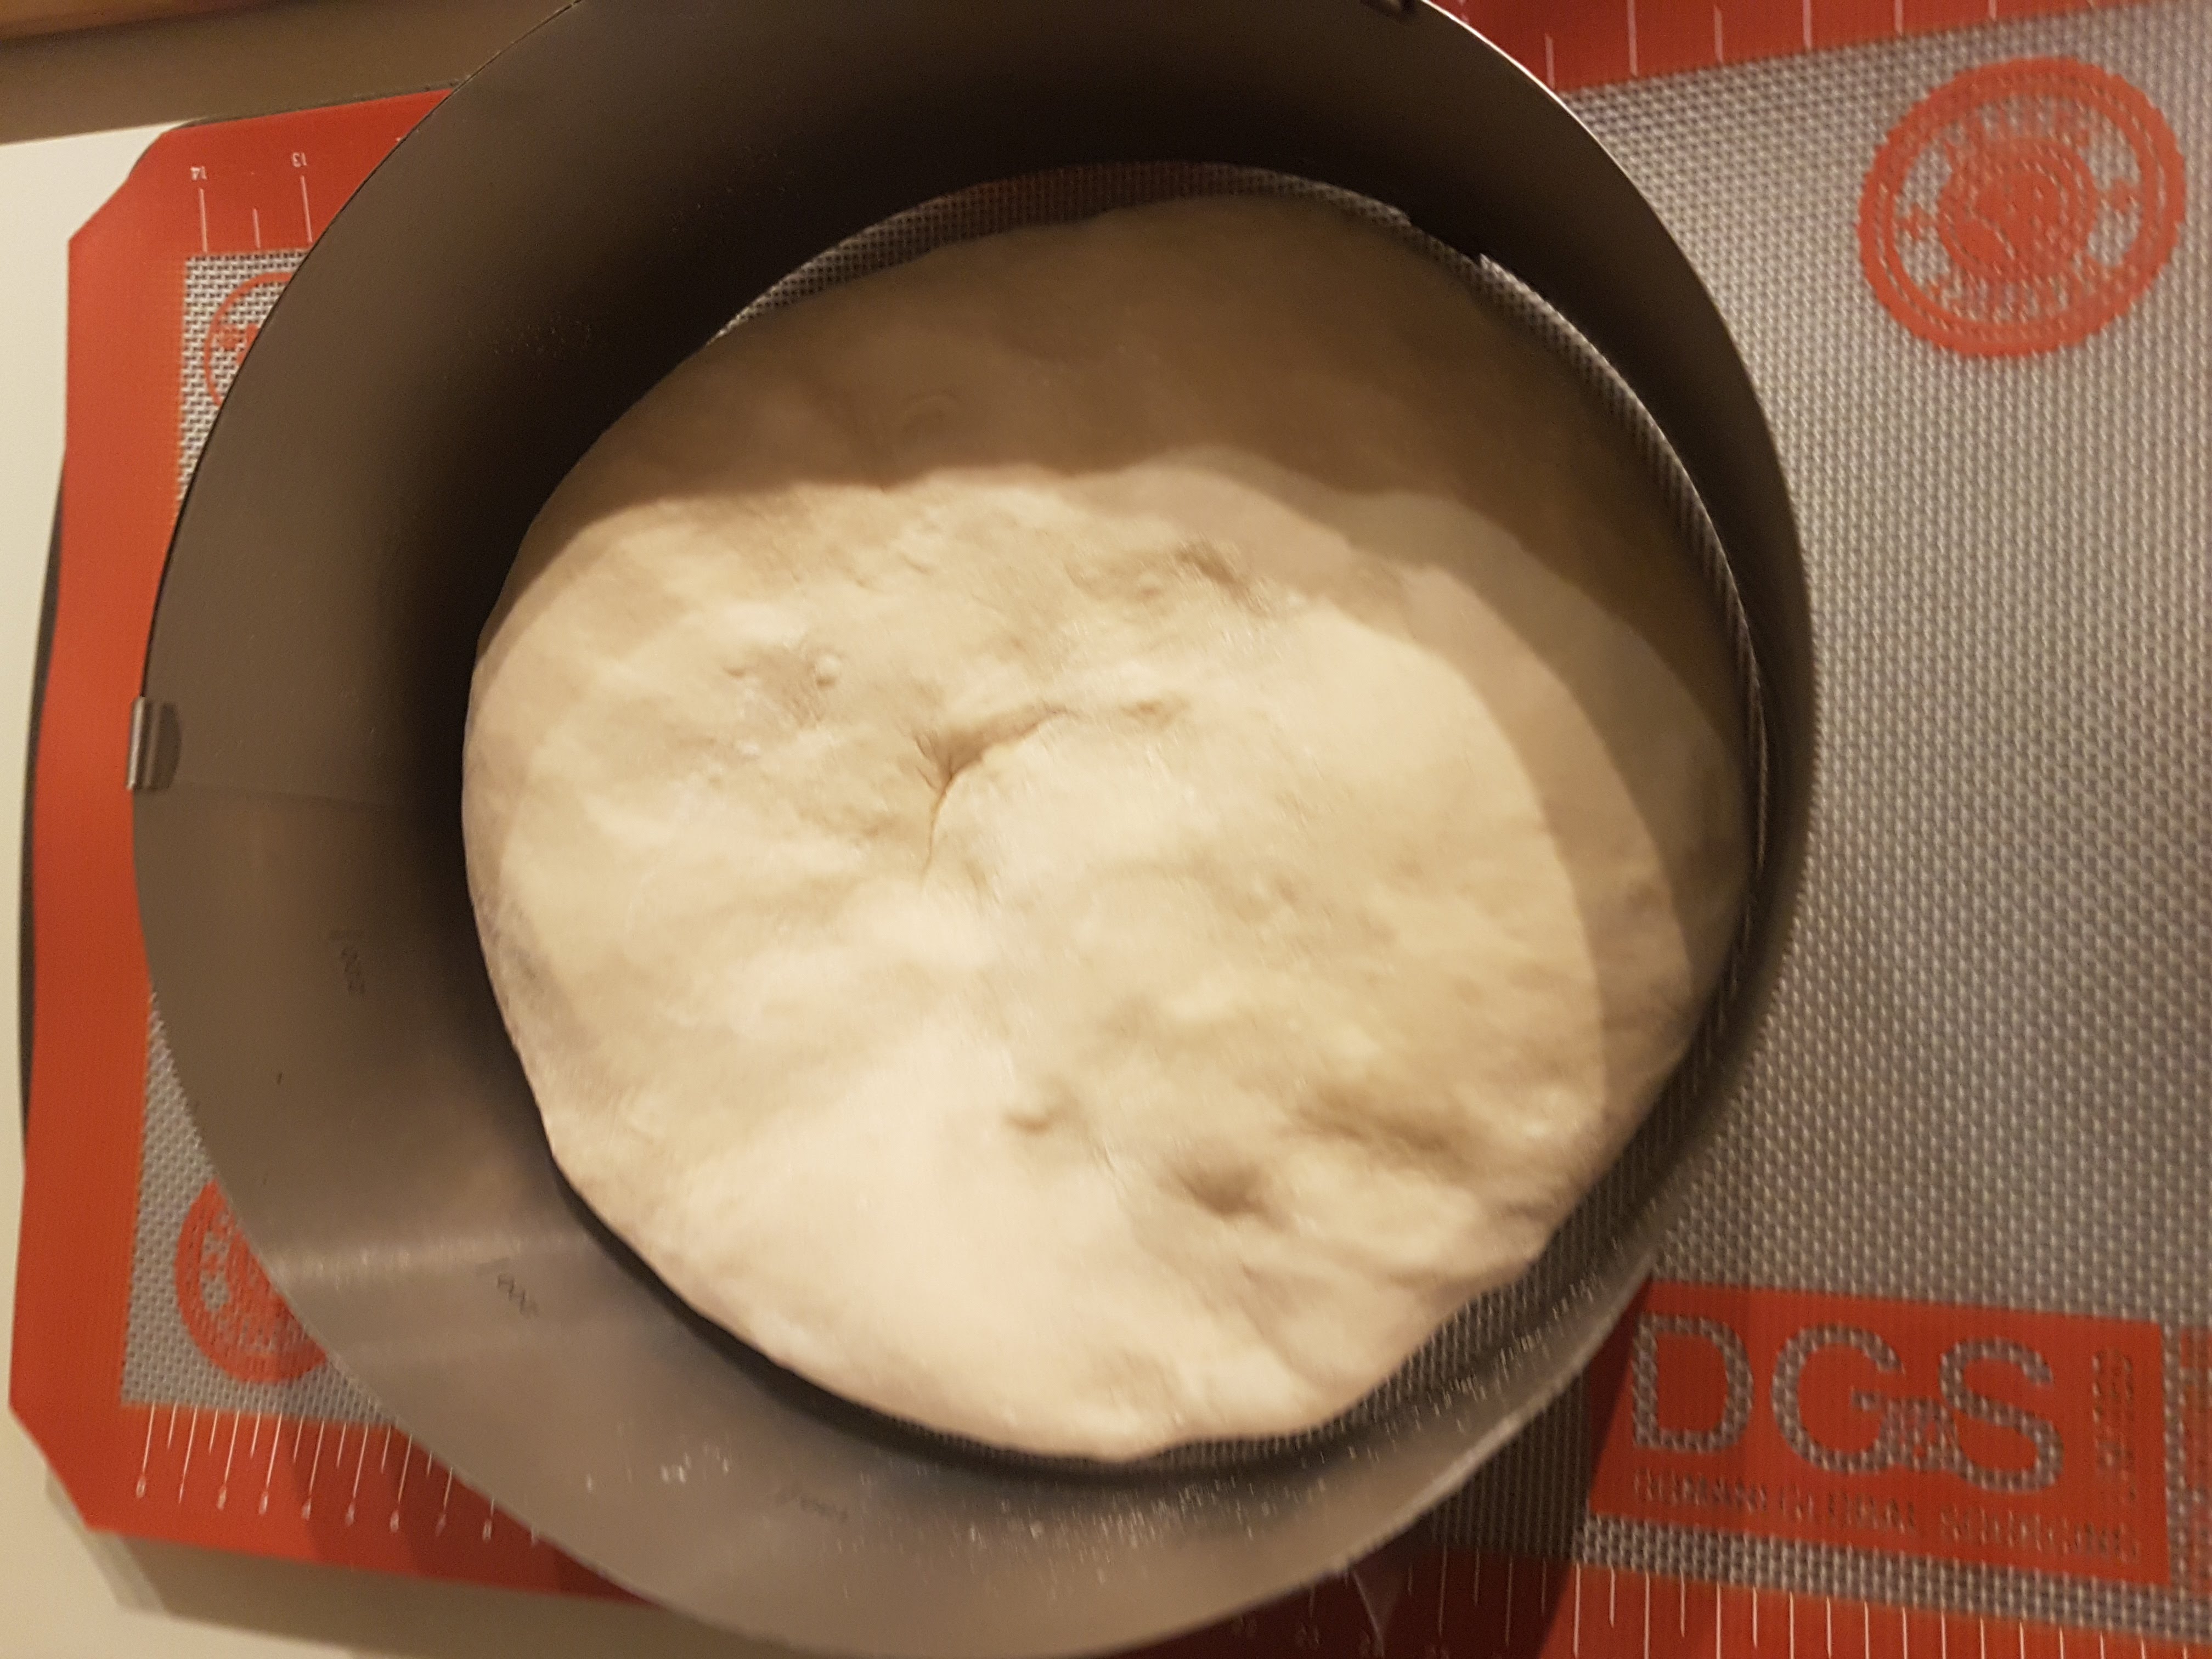
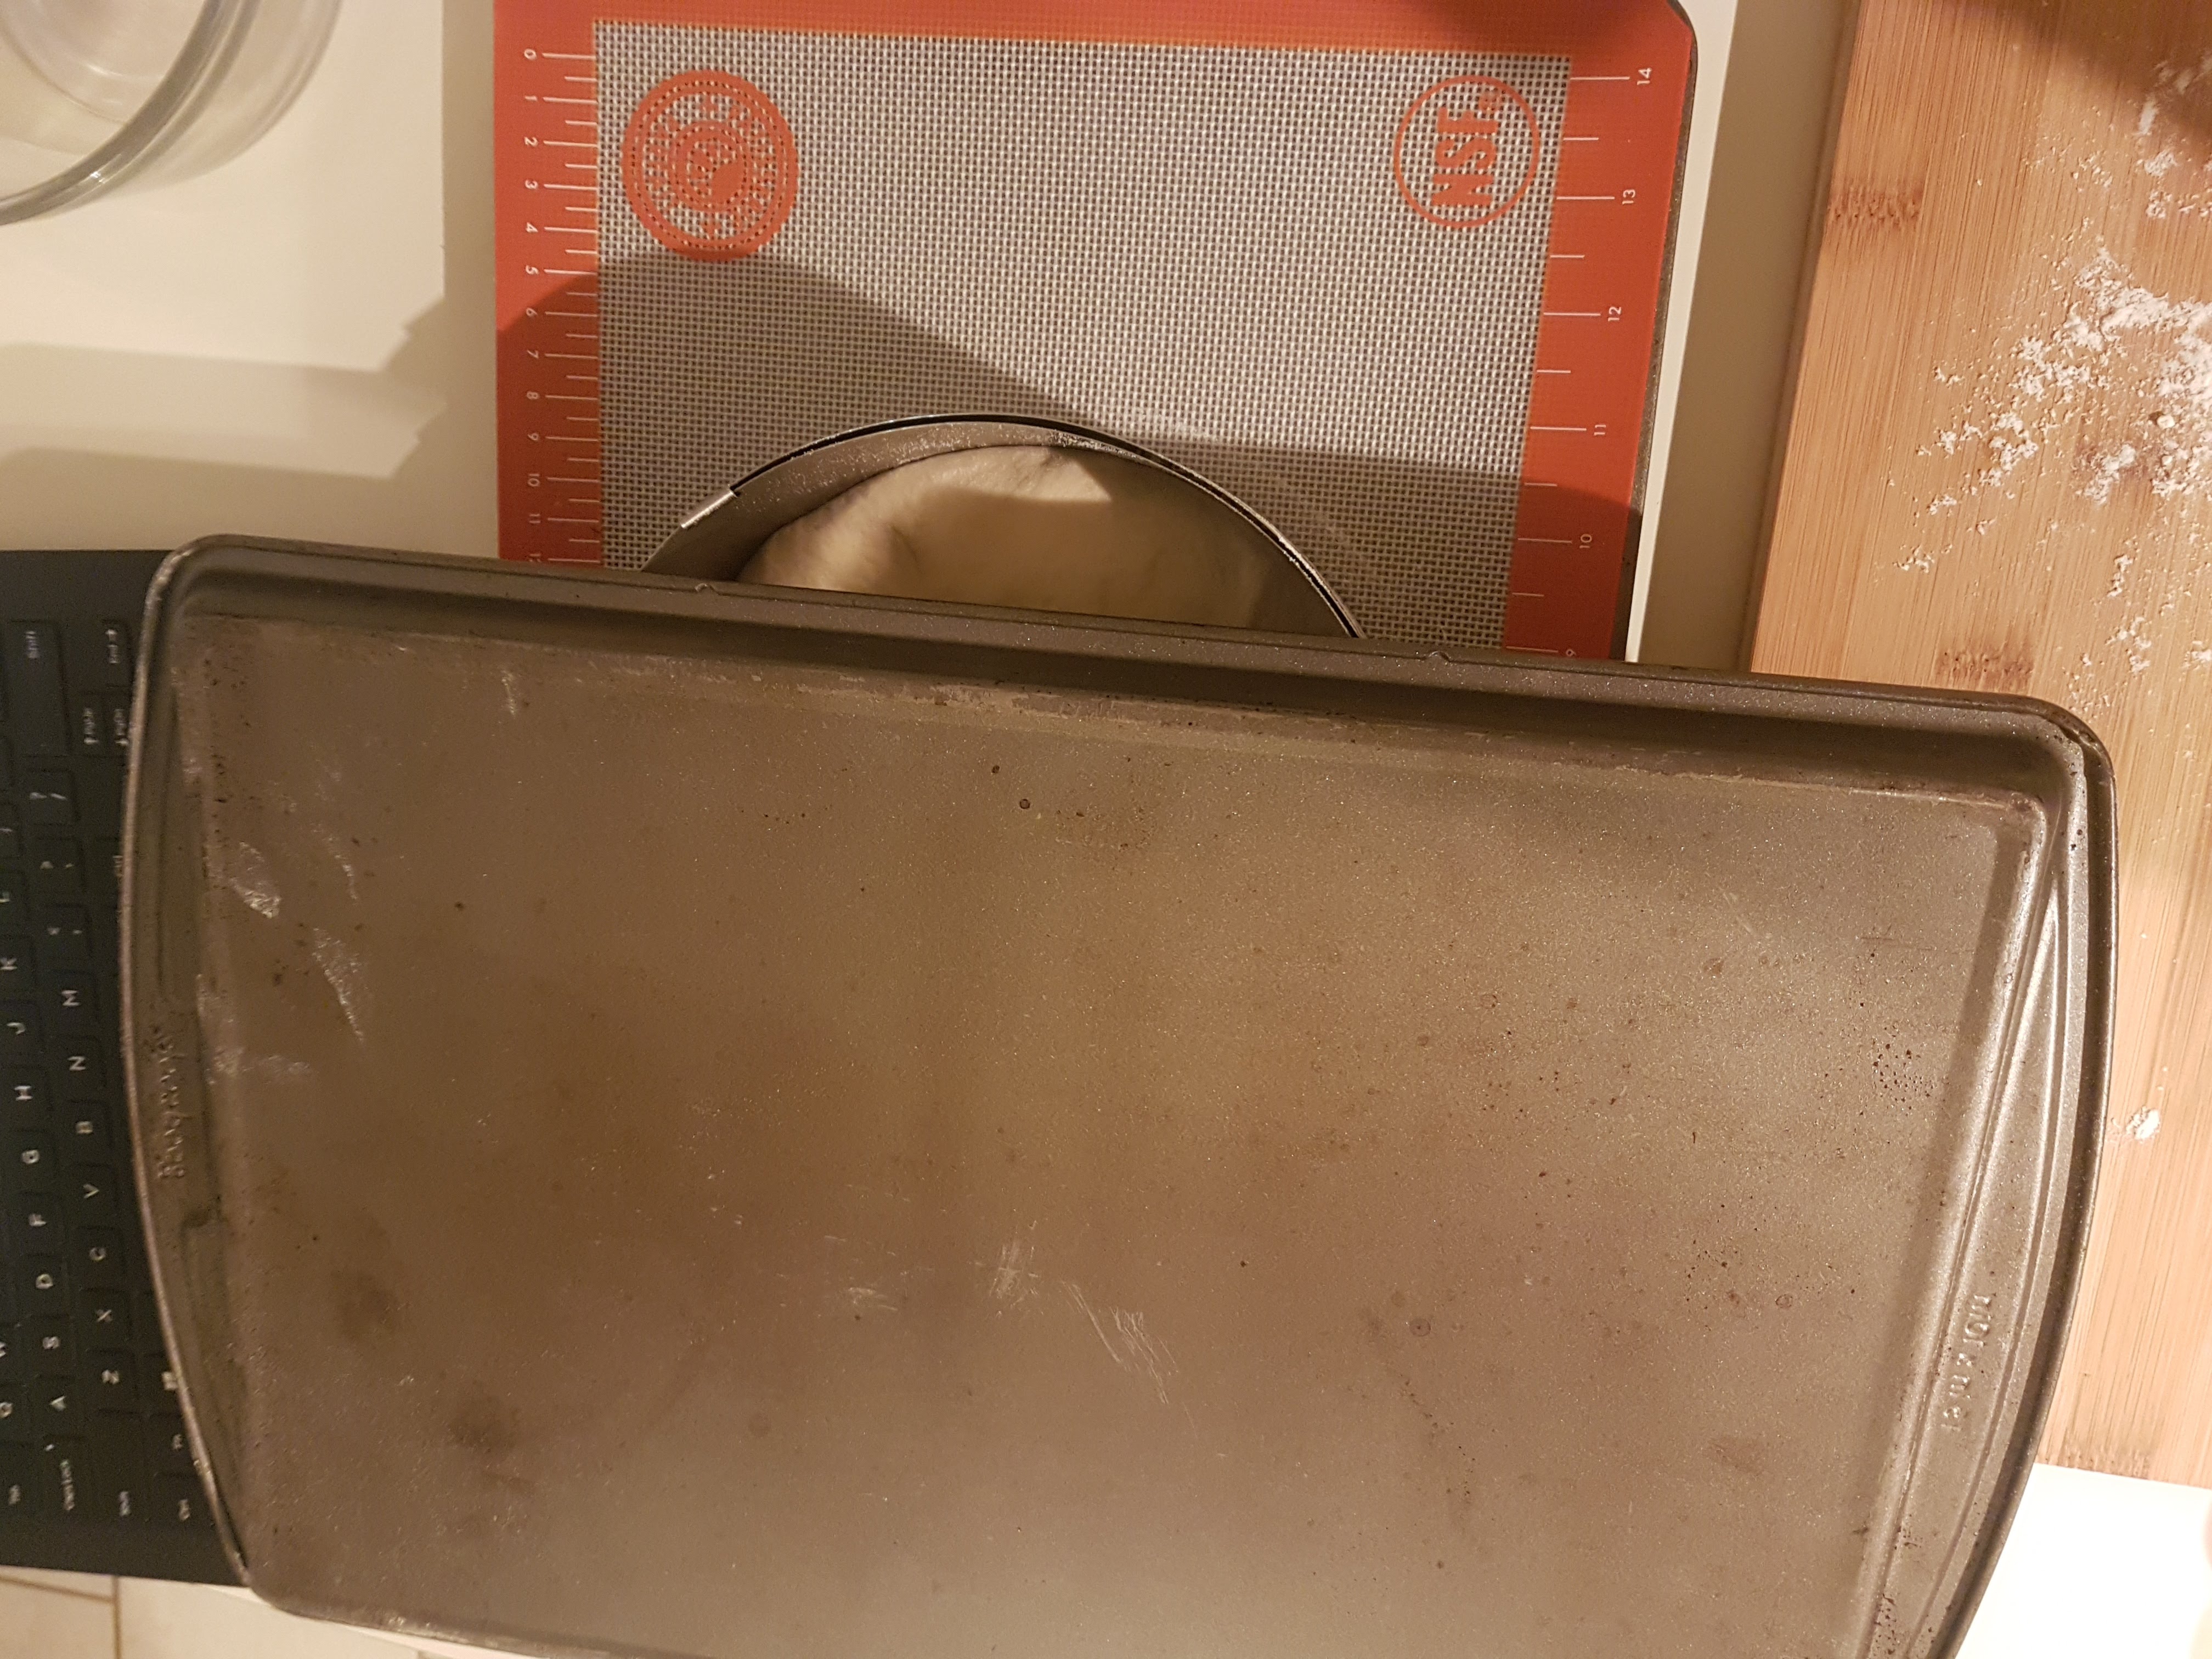
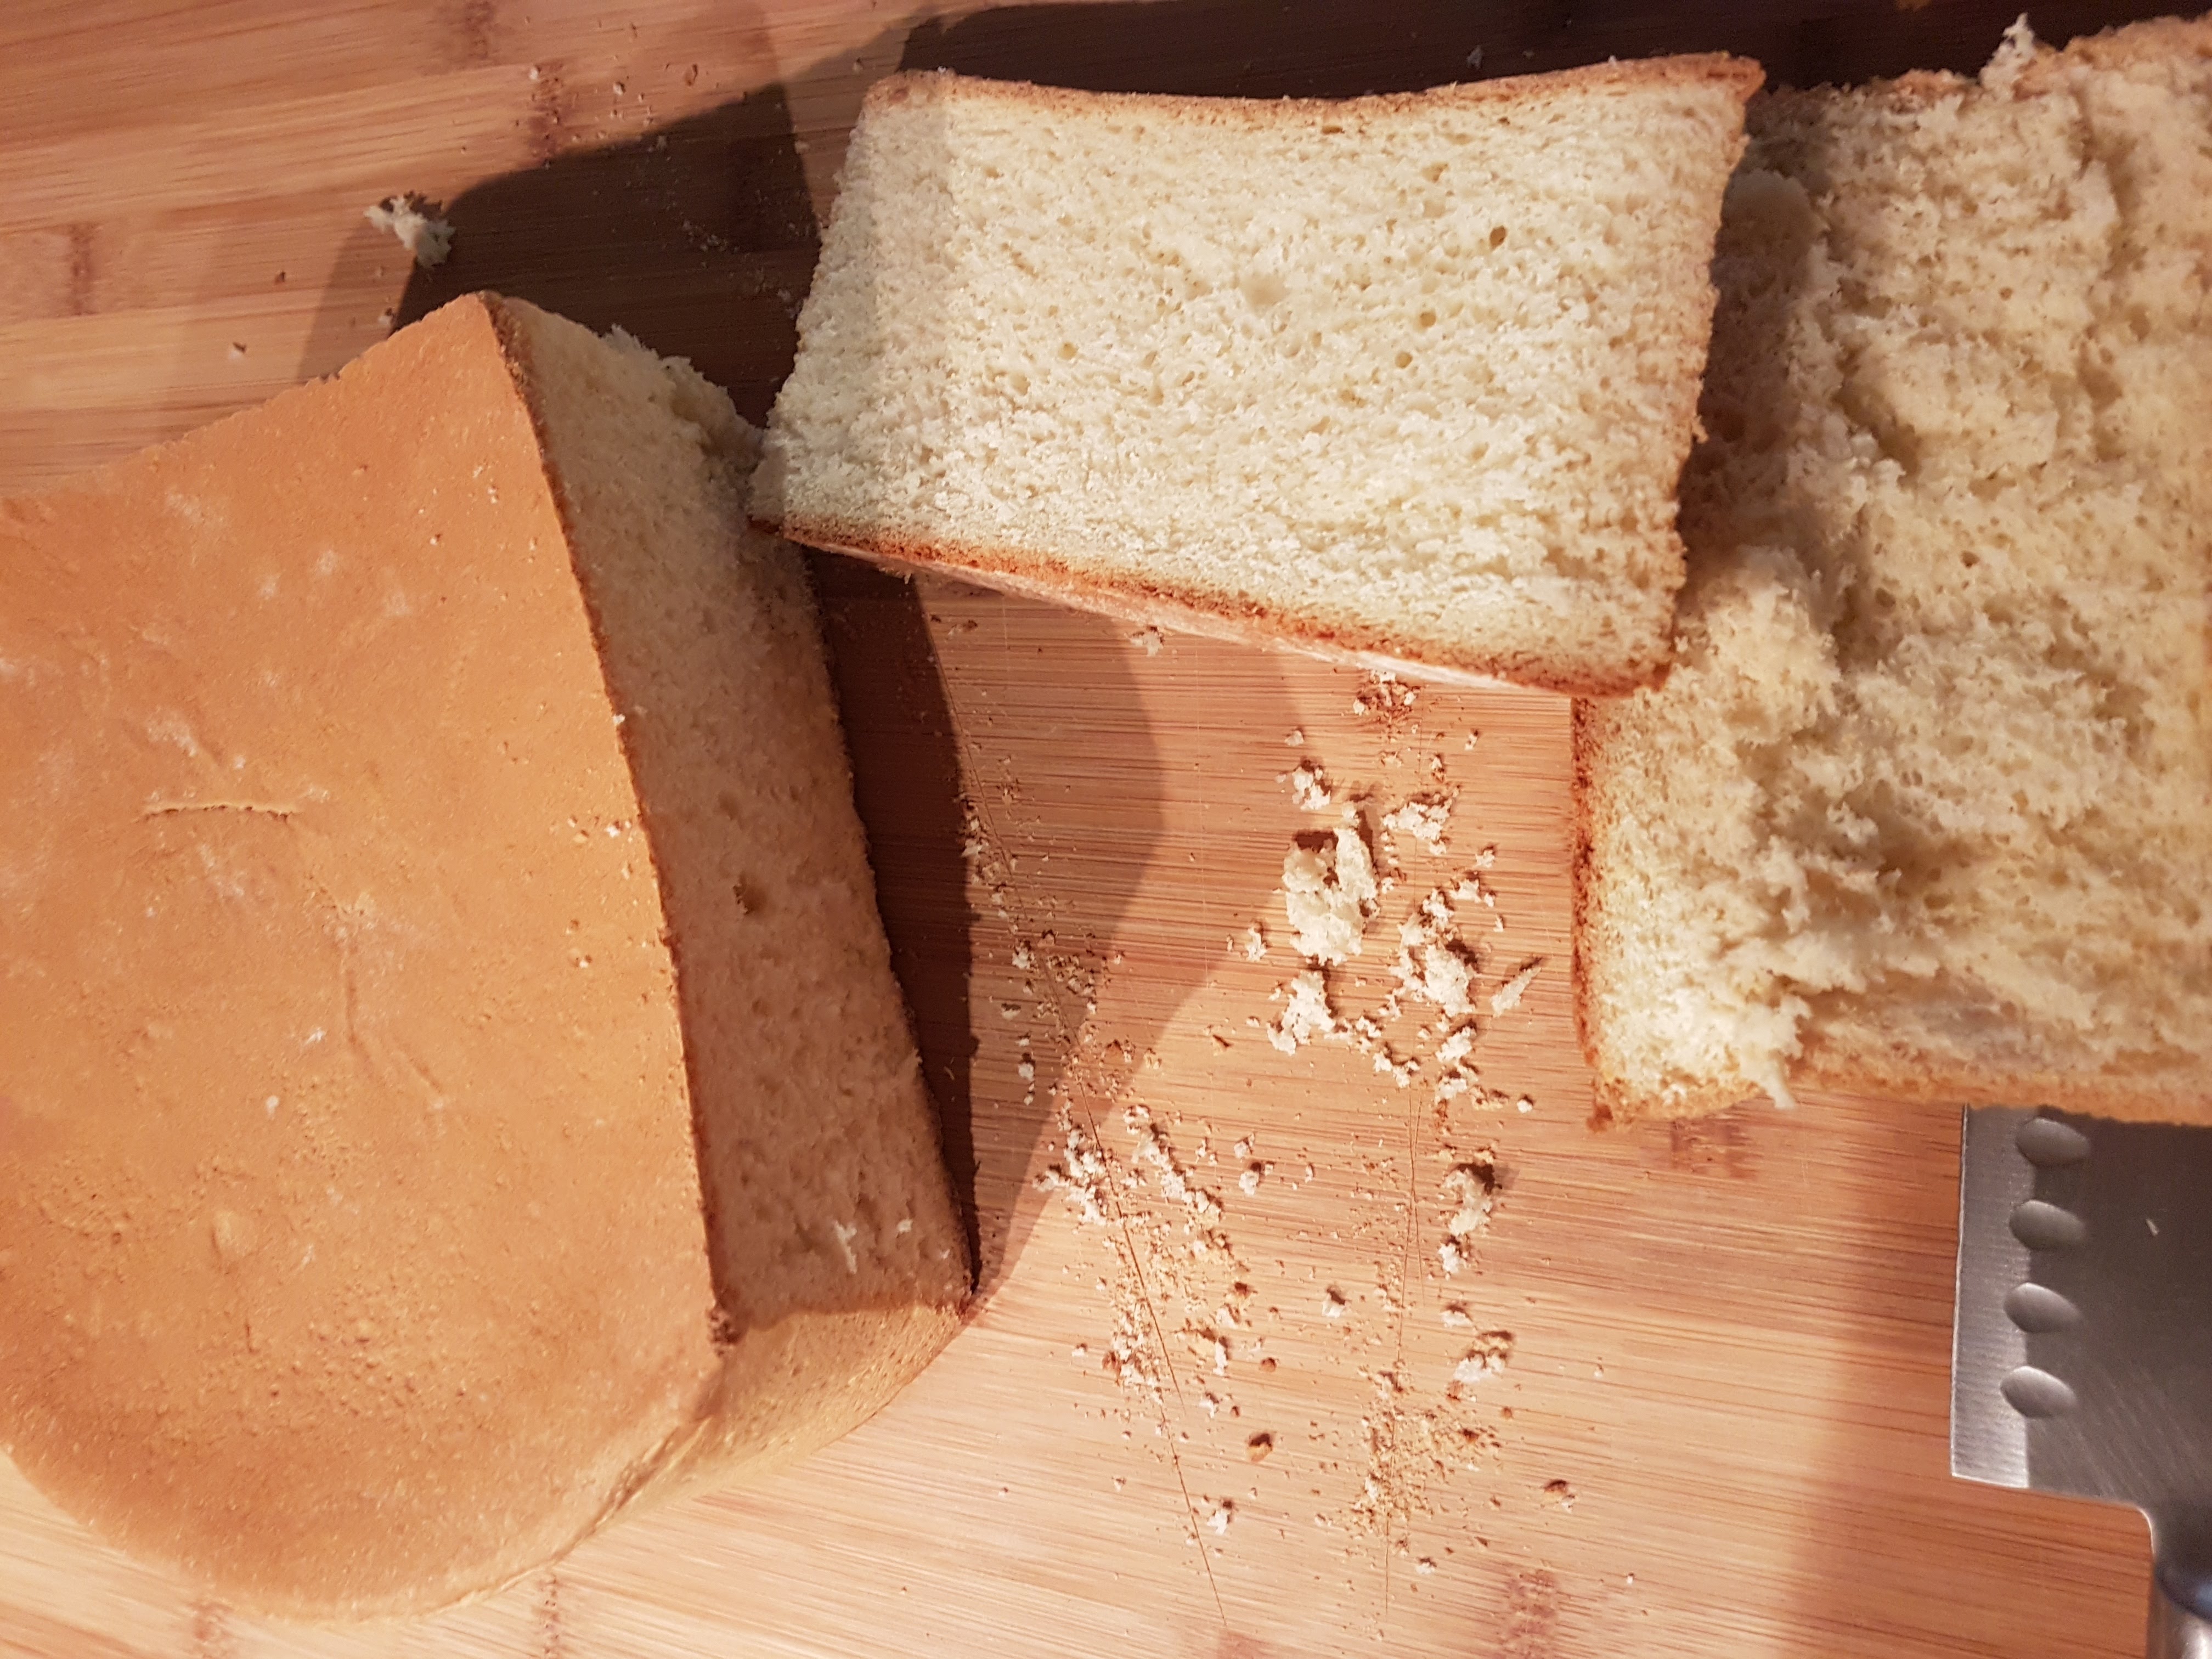
1. Prepare all ingredients2. Pour and disolve the yeast in the lukewarm milk, wait 10 min before stir3. Stir with a coffee spoon, until completely absorbed4. Meanwhile put the flour in the bowl of the kitchenaid or a simple bowl if you go to knead by hand, form a fountain in the center5. Pour the sugar in the fountain6. Then the salt7. Add the mix of the milk and yeast8. Add the water9. Add the previously melted butter10. Start kneading, power 2 max if you use kitchenaid11. Knead until the bowl dough dissolves. We are looking for the result of a smooth and homogeneous dough12. Reserve the dough in another bowl or in the bowl where you knead the dough, flour the bowl beforehand. Cover with a damp rag and allow to rise, at room temperature13. Break the raise with your fist14. Prepare your bread pan and butter if necessary15. Work your dough on a floured work surface and shape it to the size of your mold, rectangle if yours is16. Put your dough in the mold, do not completely close the lid if you have a regular bread pan17. In my case, I put a baking tray on top and leave a window to control the raise at room temperature again18. Once the dough has risen, close the lid and bake in a hot oven at 220°C/430°F then lower the oven to 180°C/350°F, in my case I add a weight for the raise is regular19. Halfway through cooking, remove the lid, in the case of a traditional bread pan, do not burn yourself and remove the lid several times, because if the top of the dough is not dry enough, you risk to destroy all your bread20. Remove from the oven when your bread is golden brown (No traces of burn), unmold it on a rack and allow it to cool well before using, it is better to toast once cooled if you like a little hot
ENJOY !
If you like this recipe or just to support my journey


Leave a reply